
If you’re a photographer, you know how important it is to make your subject stand out in a photo. Sometimes, however, the background can be distracting and take attention away from your subject. Luckily, Lightroom Classic offers powerful tools to help you achieve that perfect balance. With the subject and background masking tools, you can selectively adjust different parts of your photo without affecting the rest of the image! This allows you to bring out the best in your subject and make them truly jump off the background. I’ll show you how to use these relatively new features in Lightroom to make your subject pop and take your photos to the next level!
As a photographer, you know that capturing the perfect shot is just the beginning. The real magic happens when you edit your photos. That is where Lightroom Classic comes in. This powerful software has a range of tools that can take your photos from good to amazing! (Find more tips for editing portraits in my other recent blogs listed below!)
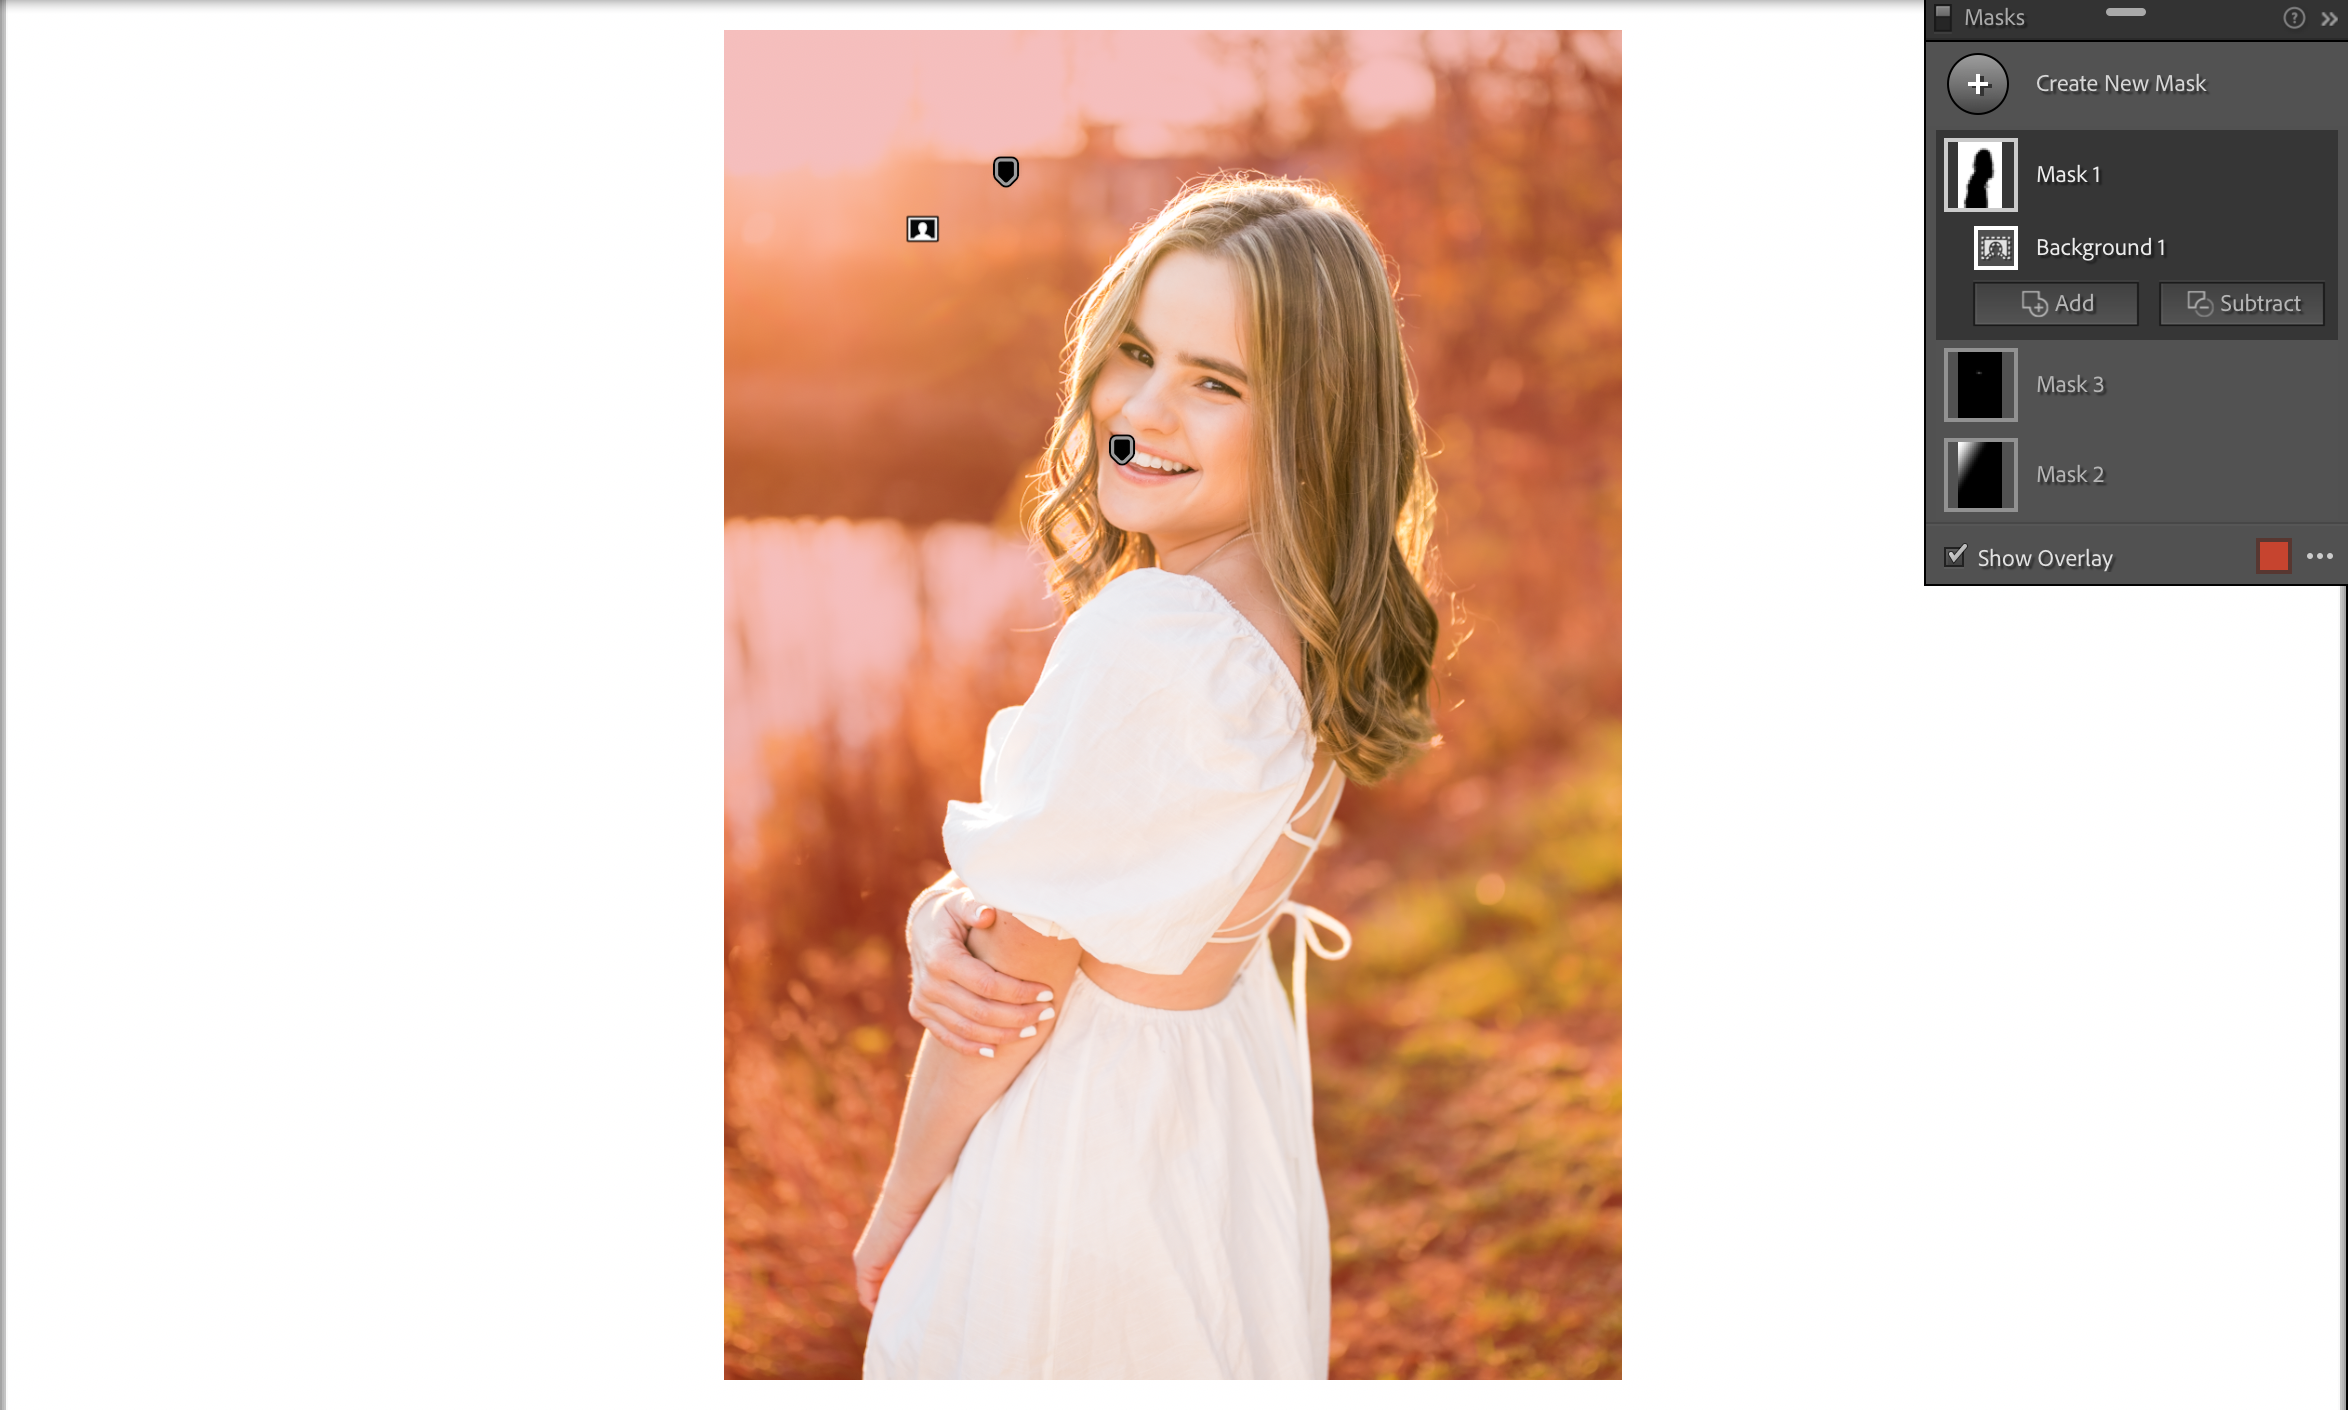
Background Masking Tool
To get that extra pop in images, once I’ve uploaded the photos into Lightroom, I’ll click “create new mask”, and have the Lightroom AI auto select the background. From there, increase the contrast of the background a bit to let the highlights get a little brighter for some extra glow. Then, decrease the clarity a tad for a super smooth background.
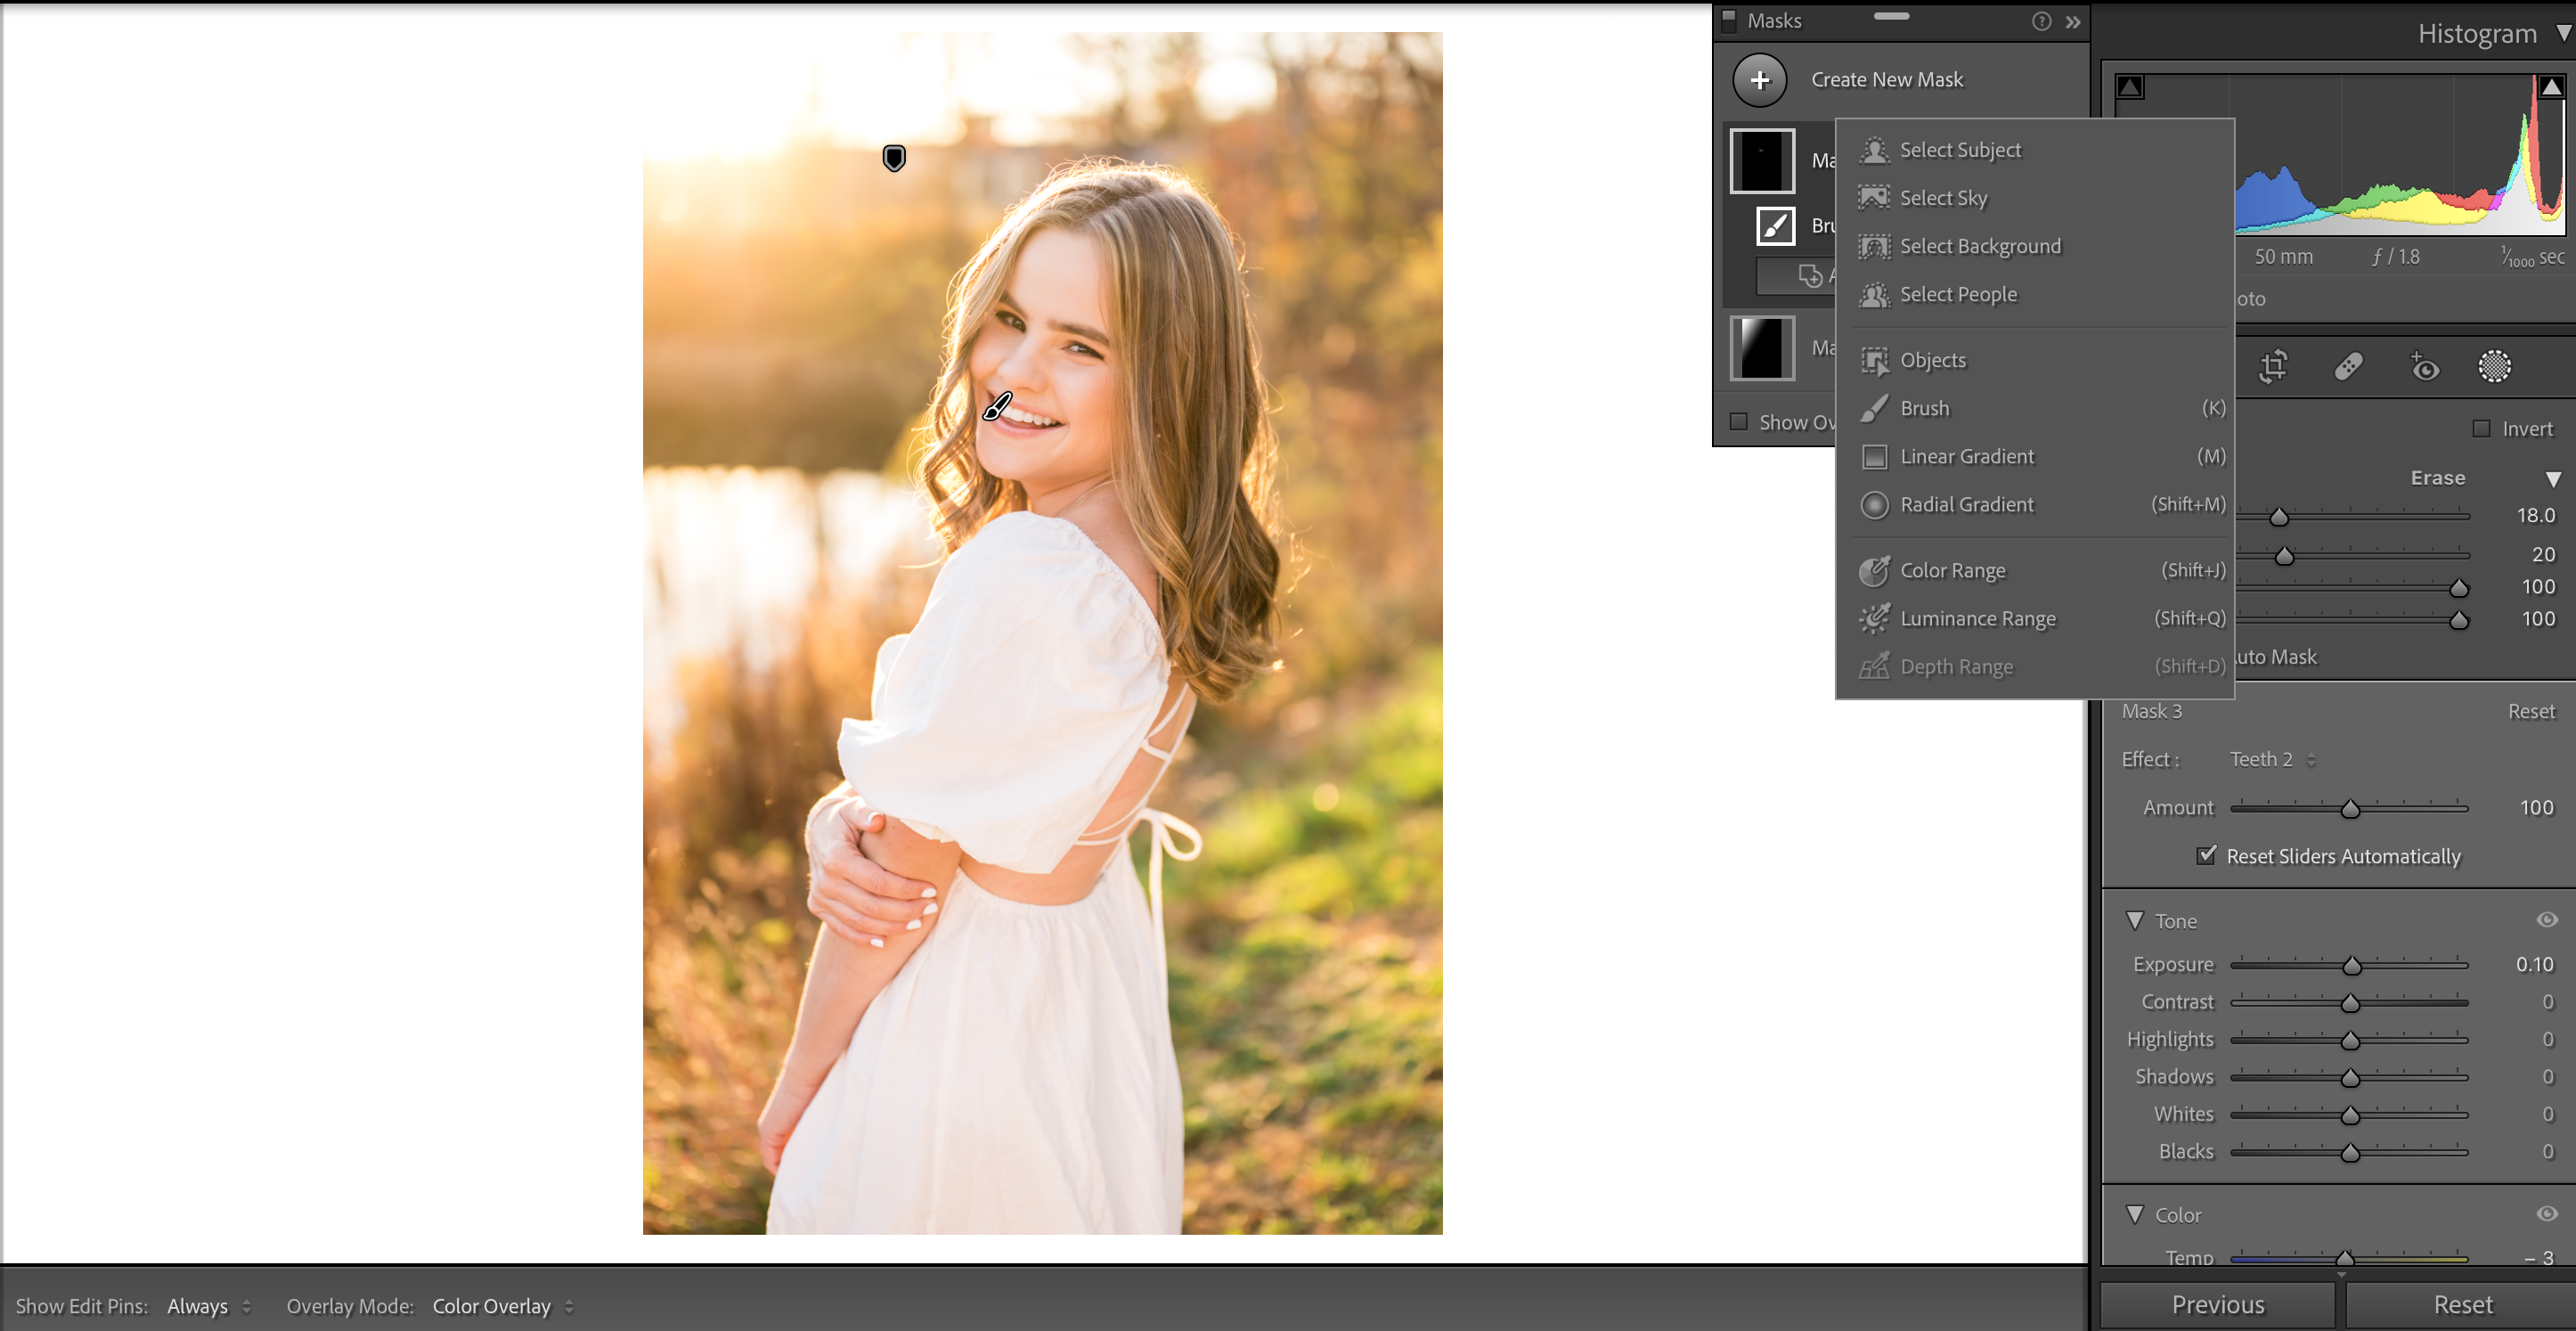
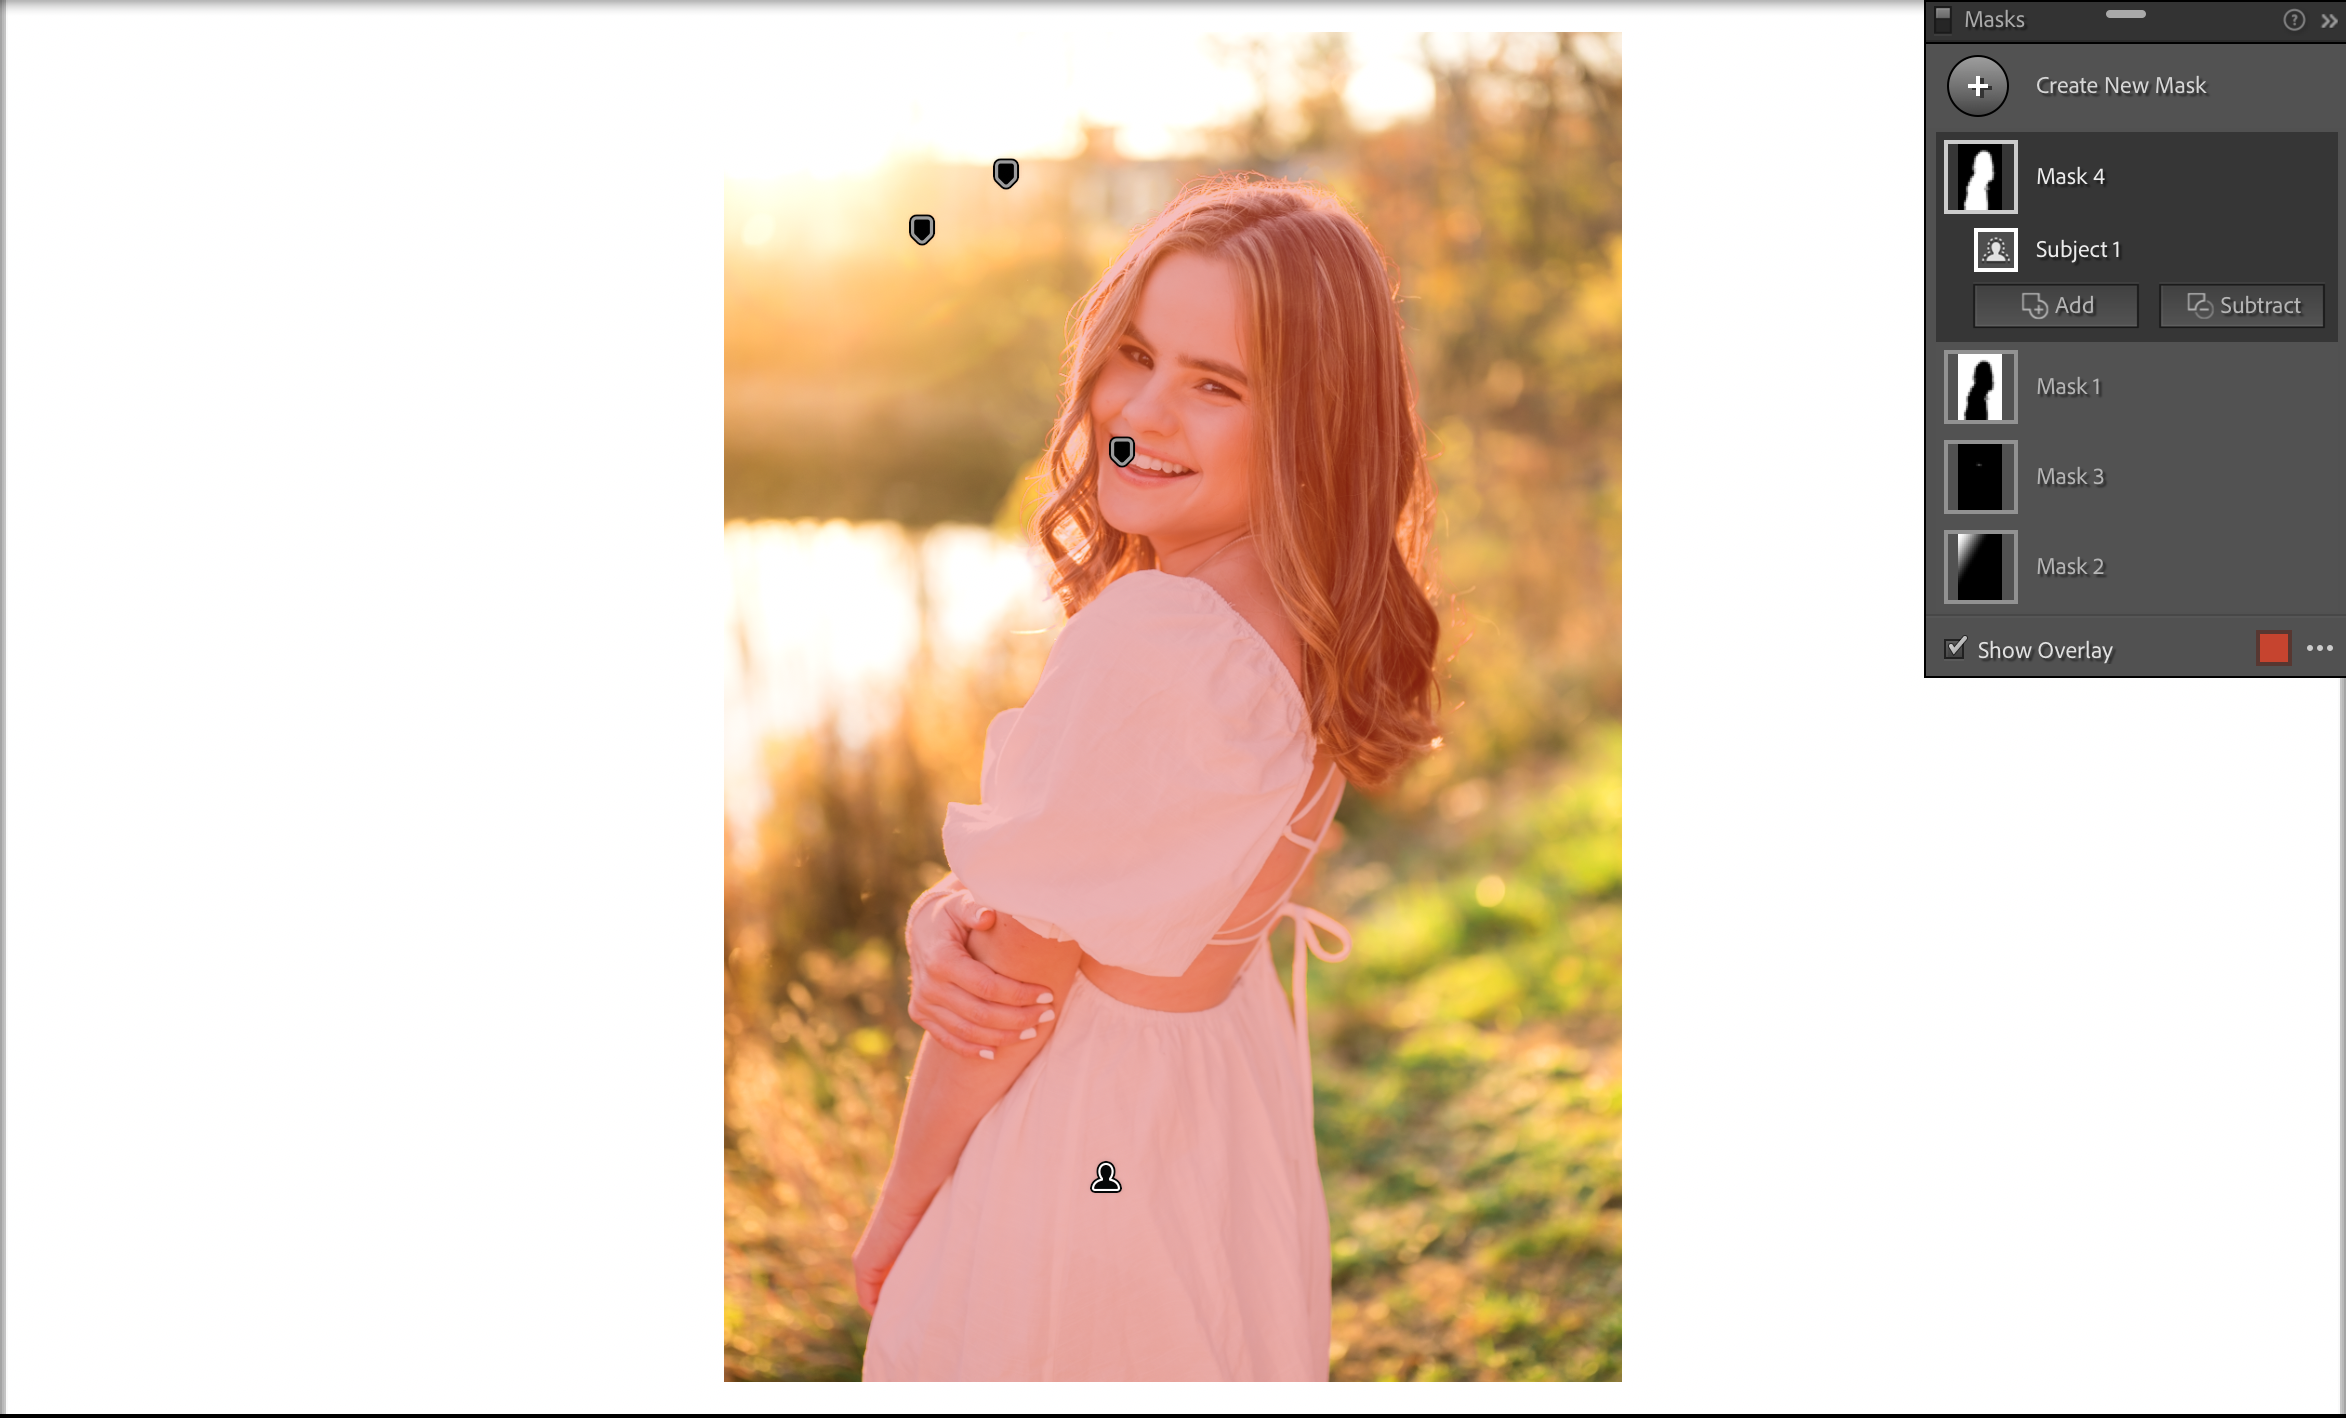
Subject Masking Tool
If I really want my subject to pop, I’ll create another mask, this time selecting my subject. From there, I usually increase the shadows and the whites a little for a brighter subject, which draws in the viewer’s eye. Finally, I’ll increase the texture or sharpness a little for an extra crisp image! This will also help the person jump off the smooth background.
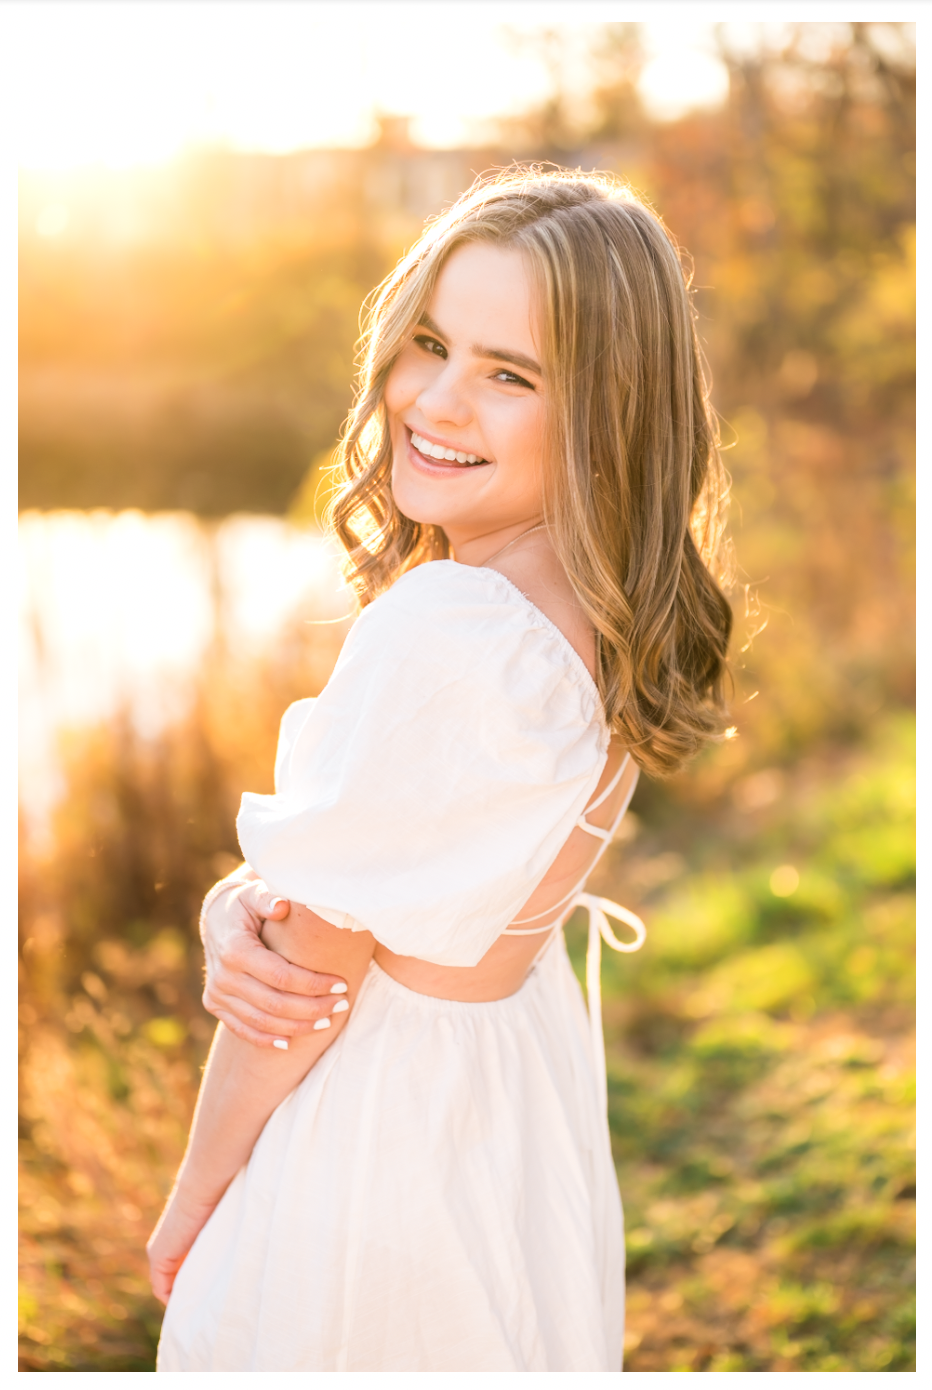
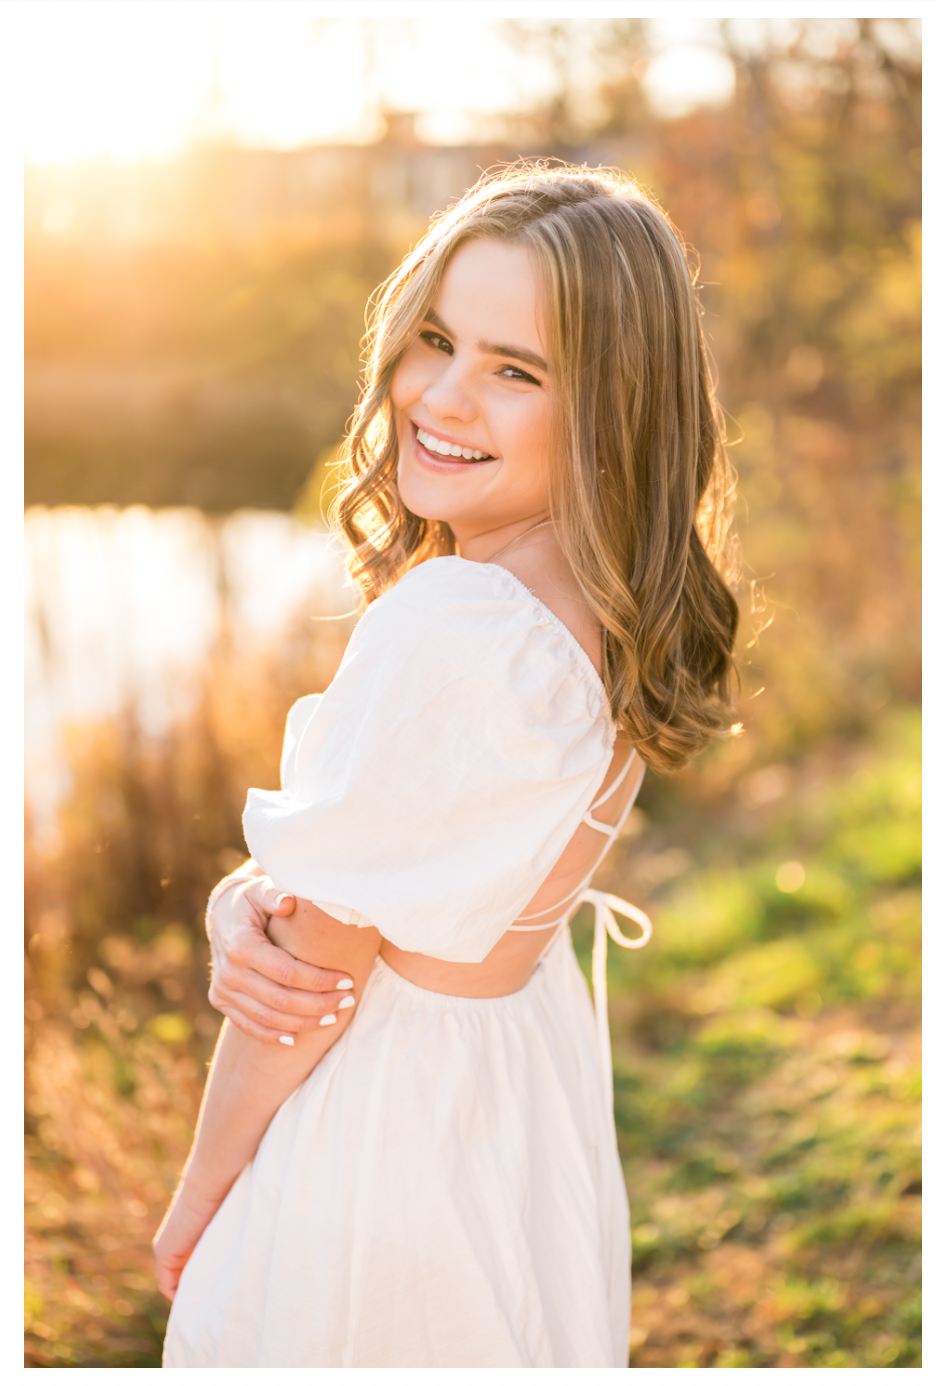
Before & After
You can really see the difference this makes in the final image versus the original image below! I love using Lightroom Classic for my photo editing software as it is easy to use and makes it effortless to manage, enhance, and perfect portraits. Lightroom Classic is full of features that can enhance the quality of your photos and give them a professional look that stands out.
To learn more portrait editing tips and tricks view these blogs below and keep your eyes out for the launch this spring of my Editing Course! You won’t want to miss it!
How To Use Lightroom To Remove Stray Hairs In Portraits
Speed Up Your Editing Workflow | Portrait Photographer Tips
3 Tips to Achieve Natural + Effective Skin Retouching | Portrait Photographer Tips

