
Creating perfect portraits is an art form! Perfecting the lighting and background can be difficult enough, however, one of the most common issues that is overlooked are stray hairs. Stray hairs can totally make or break a portrait, which is why it’s important to edit them out! It can be tough sometimes, especially when images are backlit and those hairs tend to glow. Taking the time to edit them out will give your photos a more polished finish! While stray hairs can be a nuisance to remove during editing, Lightroom’s spot removal tool is here to help! This amazing tool helps easily erase any unwanted hairs. Here are a few tips for using Lightroom to remove stray hairs in portraits.

Steps for Getting Rid of Stray Hairs
STEP ONE
Fix hair as much as possible during the session! This step might come as a no-brainer, but it’s worth mentioning as it will save time later during the editing process. The more hairs you fix now, the less editing you have to do later! Sometimes you miss a strand, but that’s okay because Lightroom makes it easy to edit.
STEP TWO
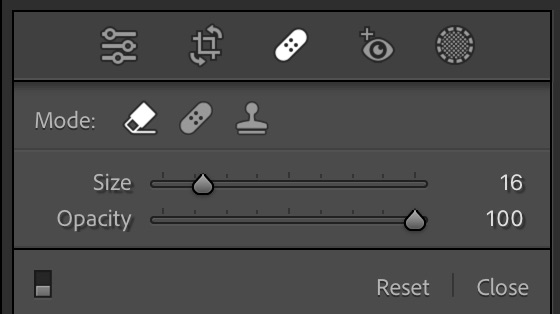
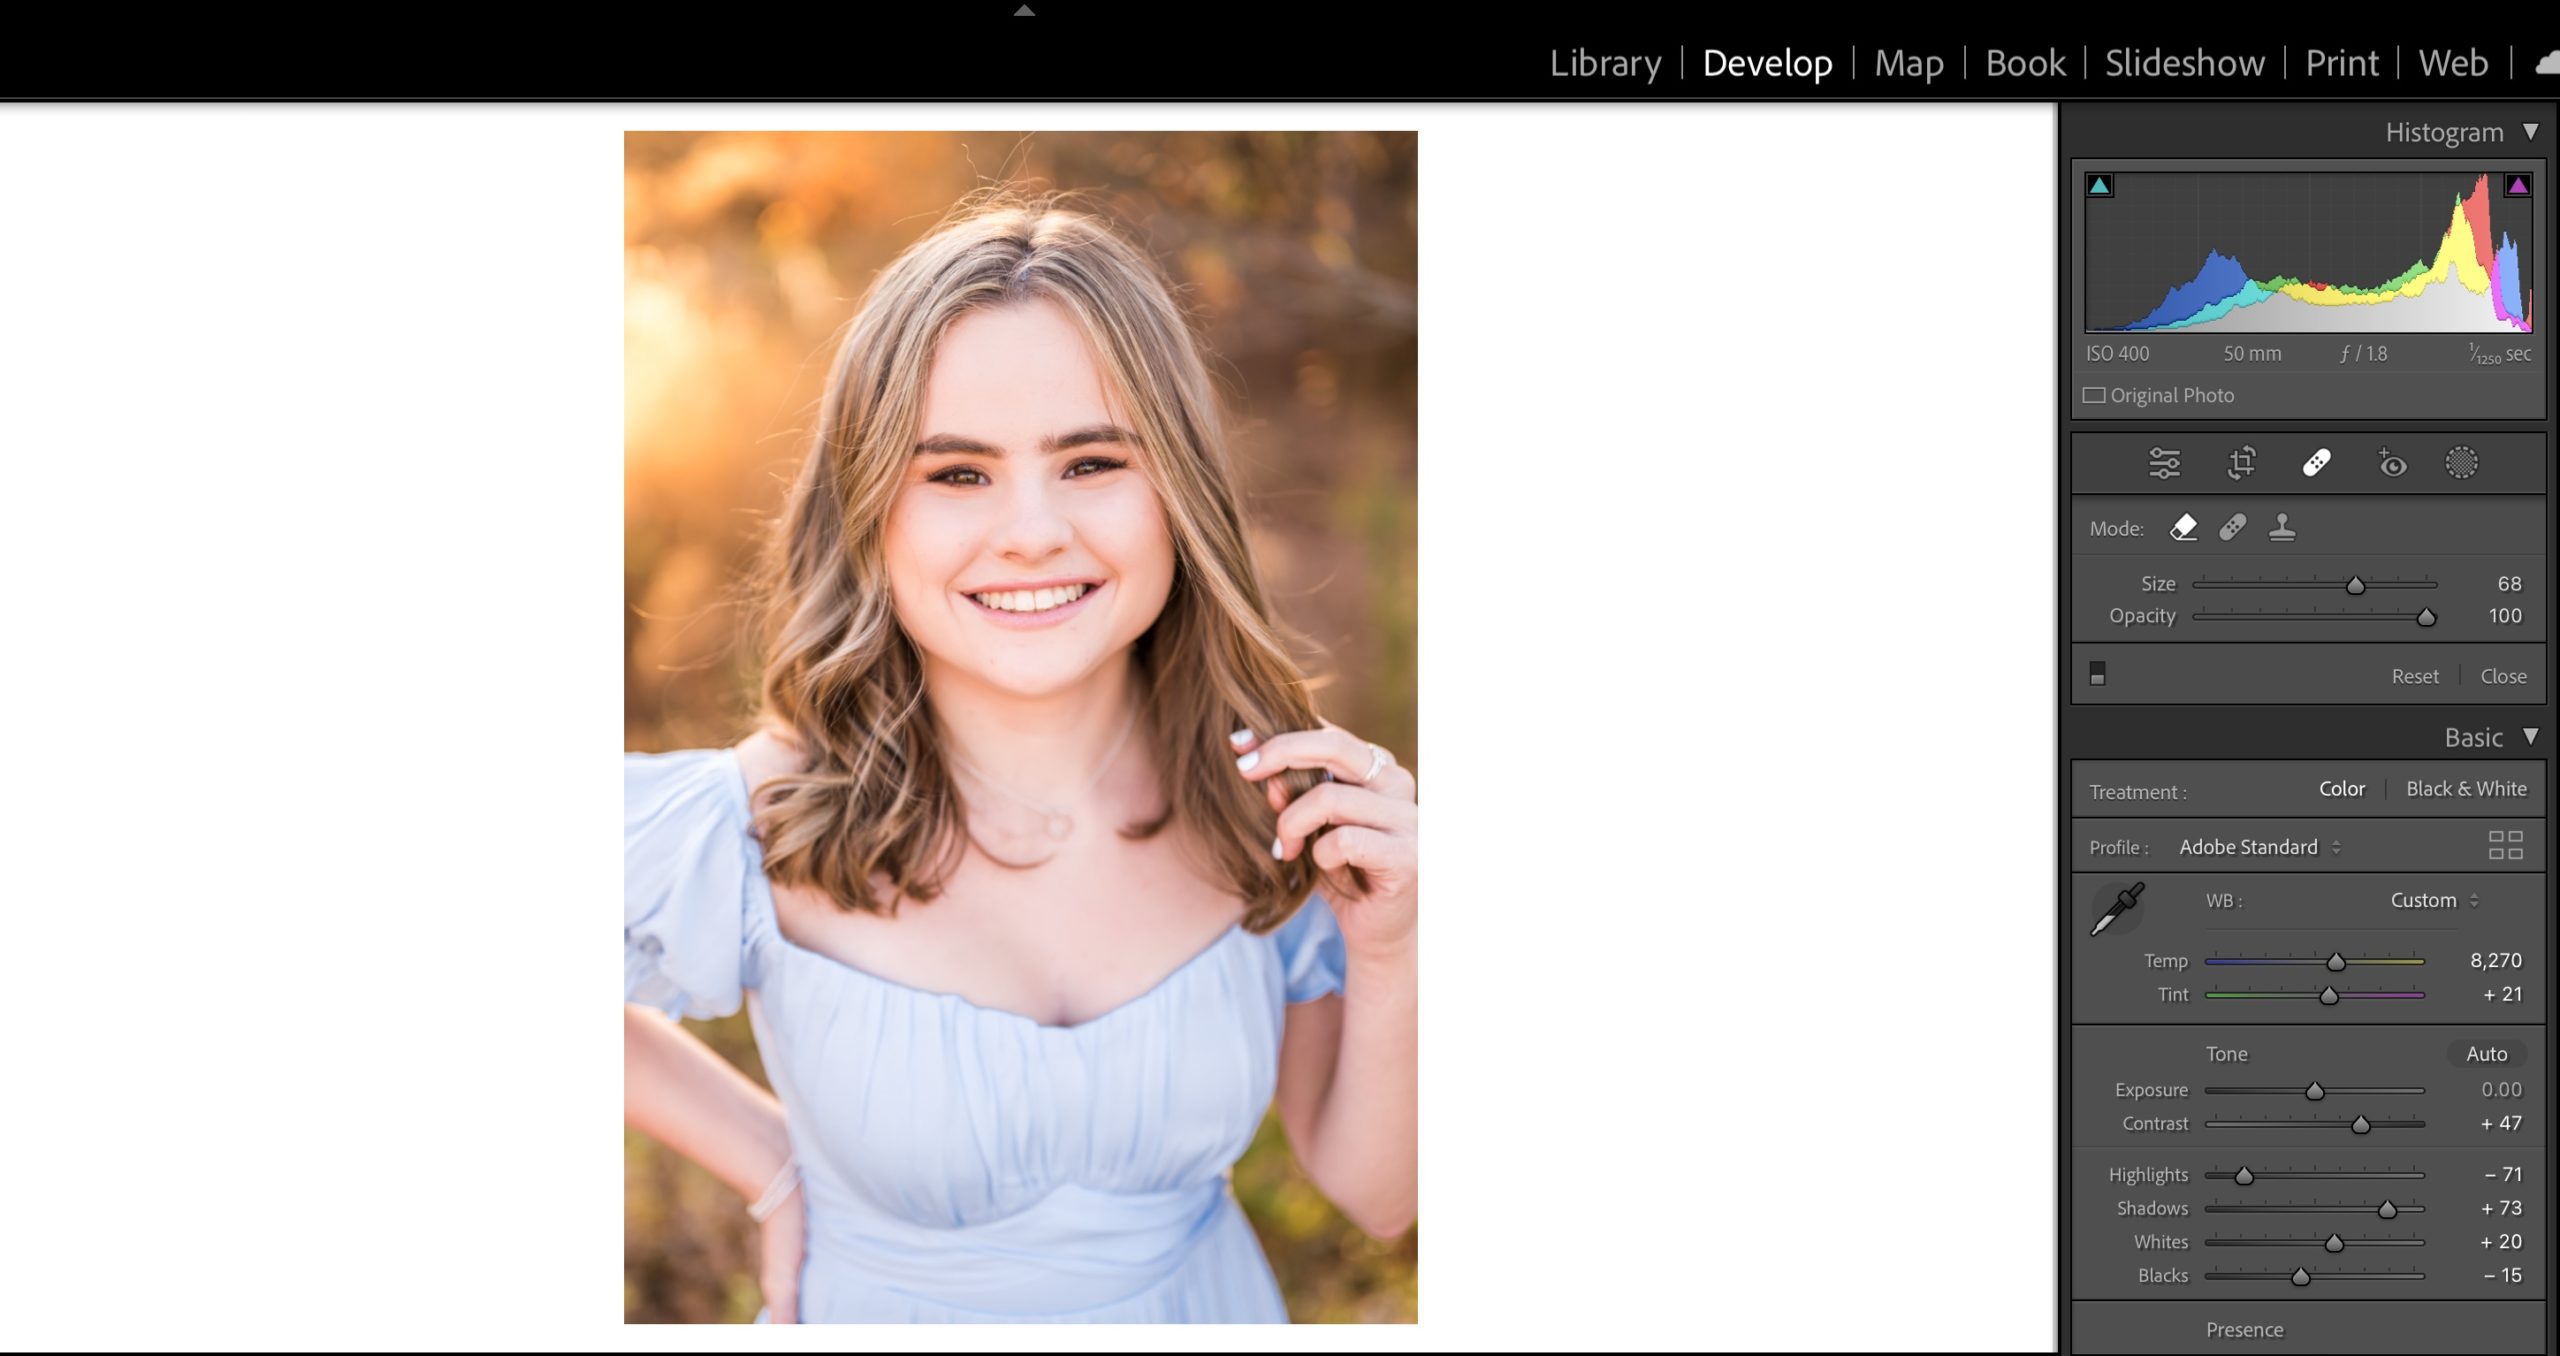
To get rid of those pesky strands, open the spot removal tool on the right hand side in the develop module. I like to use the smart removal tool over the healing or cloning tool because it does most of the work for you, saving even more time!
STEP THREE
Now that you have selected the tool, adjust the size of the tool so that it is slightly bigger than the strand of hair you want to remove. Be sure to get the size of the tool close to the width of the hair strand for the most accurate removal!
STEP FOUR
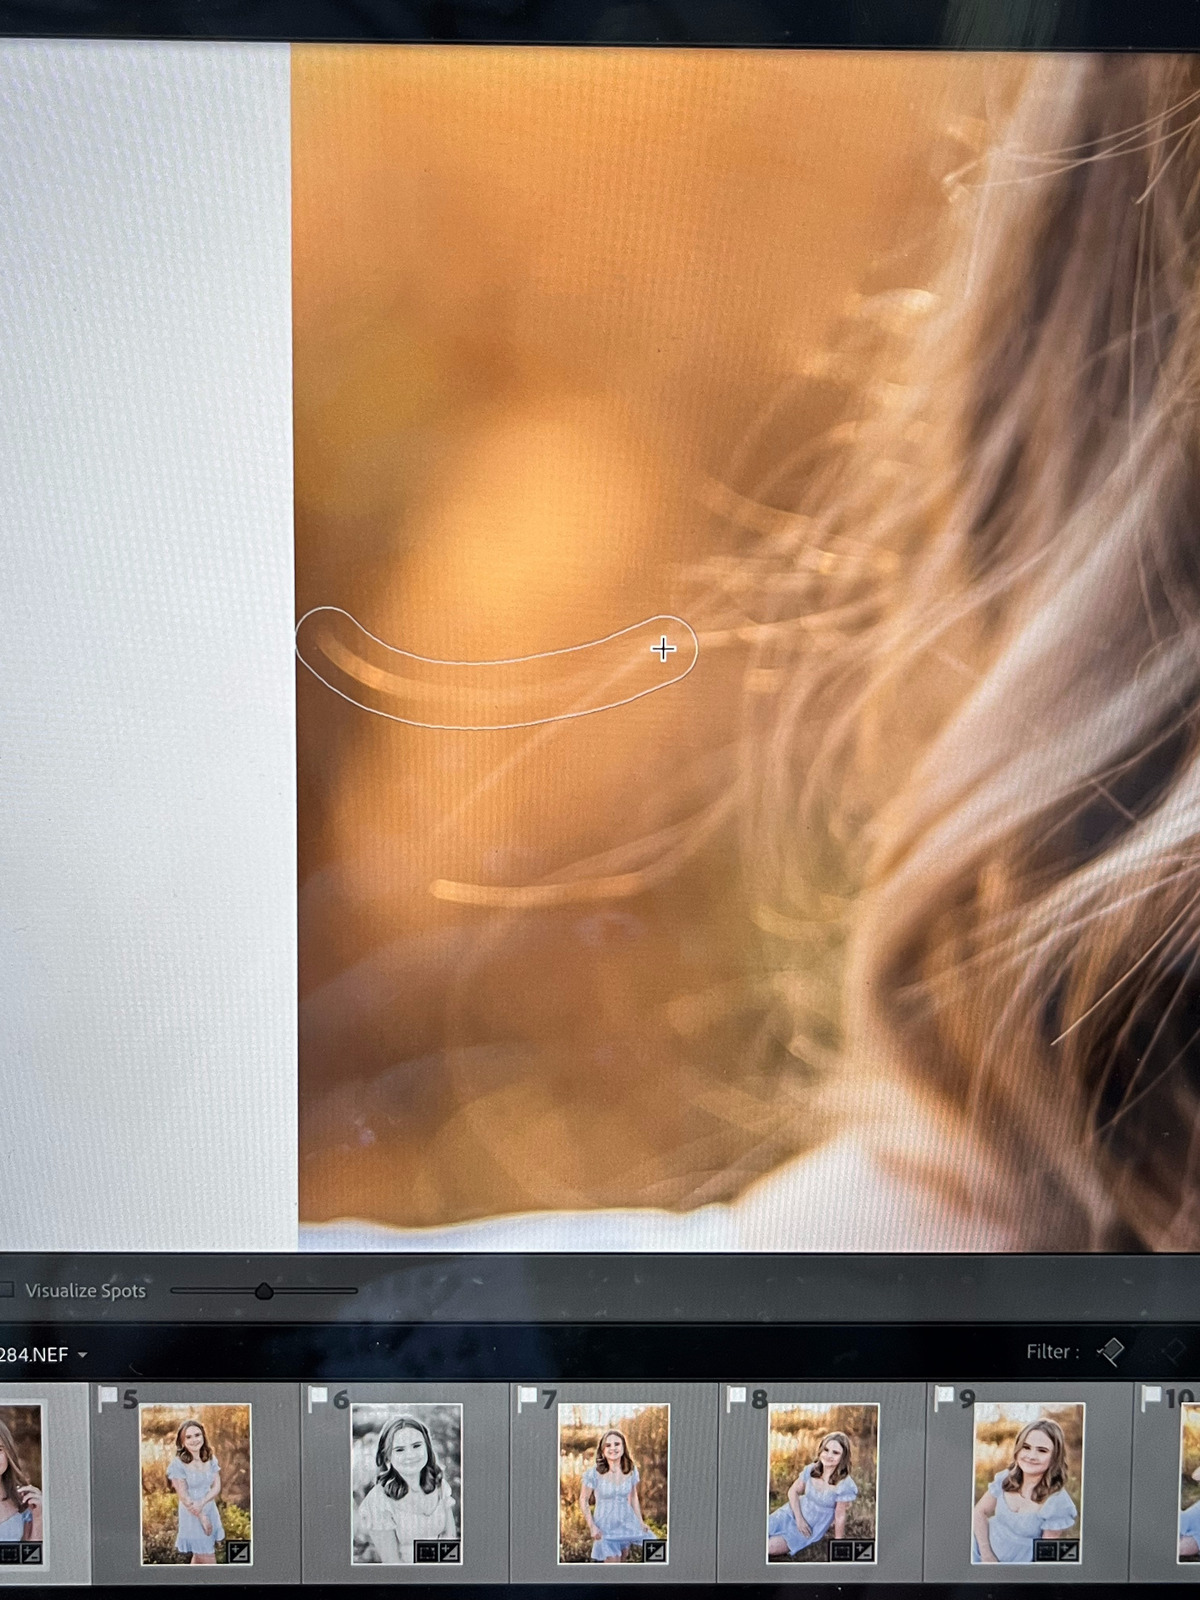
Using the tool, trace along the strand of hair from tip to tip and let the smart removal tool work its magic! It’ll auto sample from the surrounding background to remove the hair naturally!
STEP FIVE
I always suggest editing strand by strand instead of big clumps, which can produce a weird halo effect around your subject, looking unnatural. While taking the time to go strand by strand is a tad more time consuming, it is completely worth it! Your images will have a natural, professional finish!
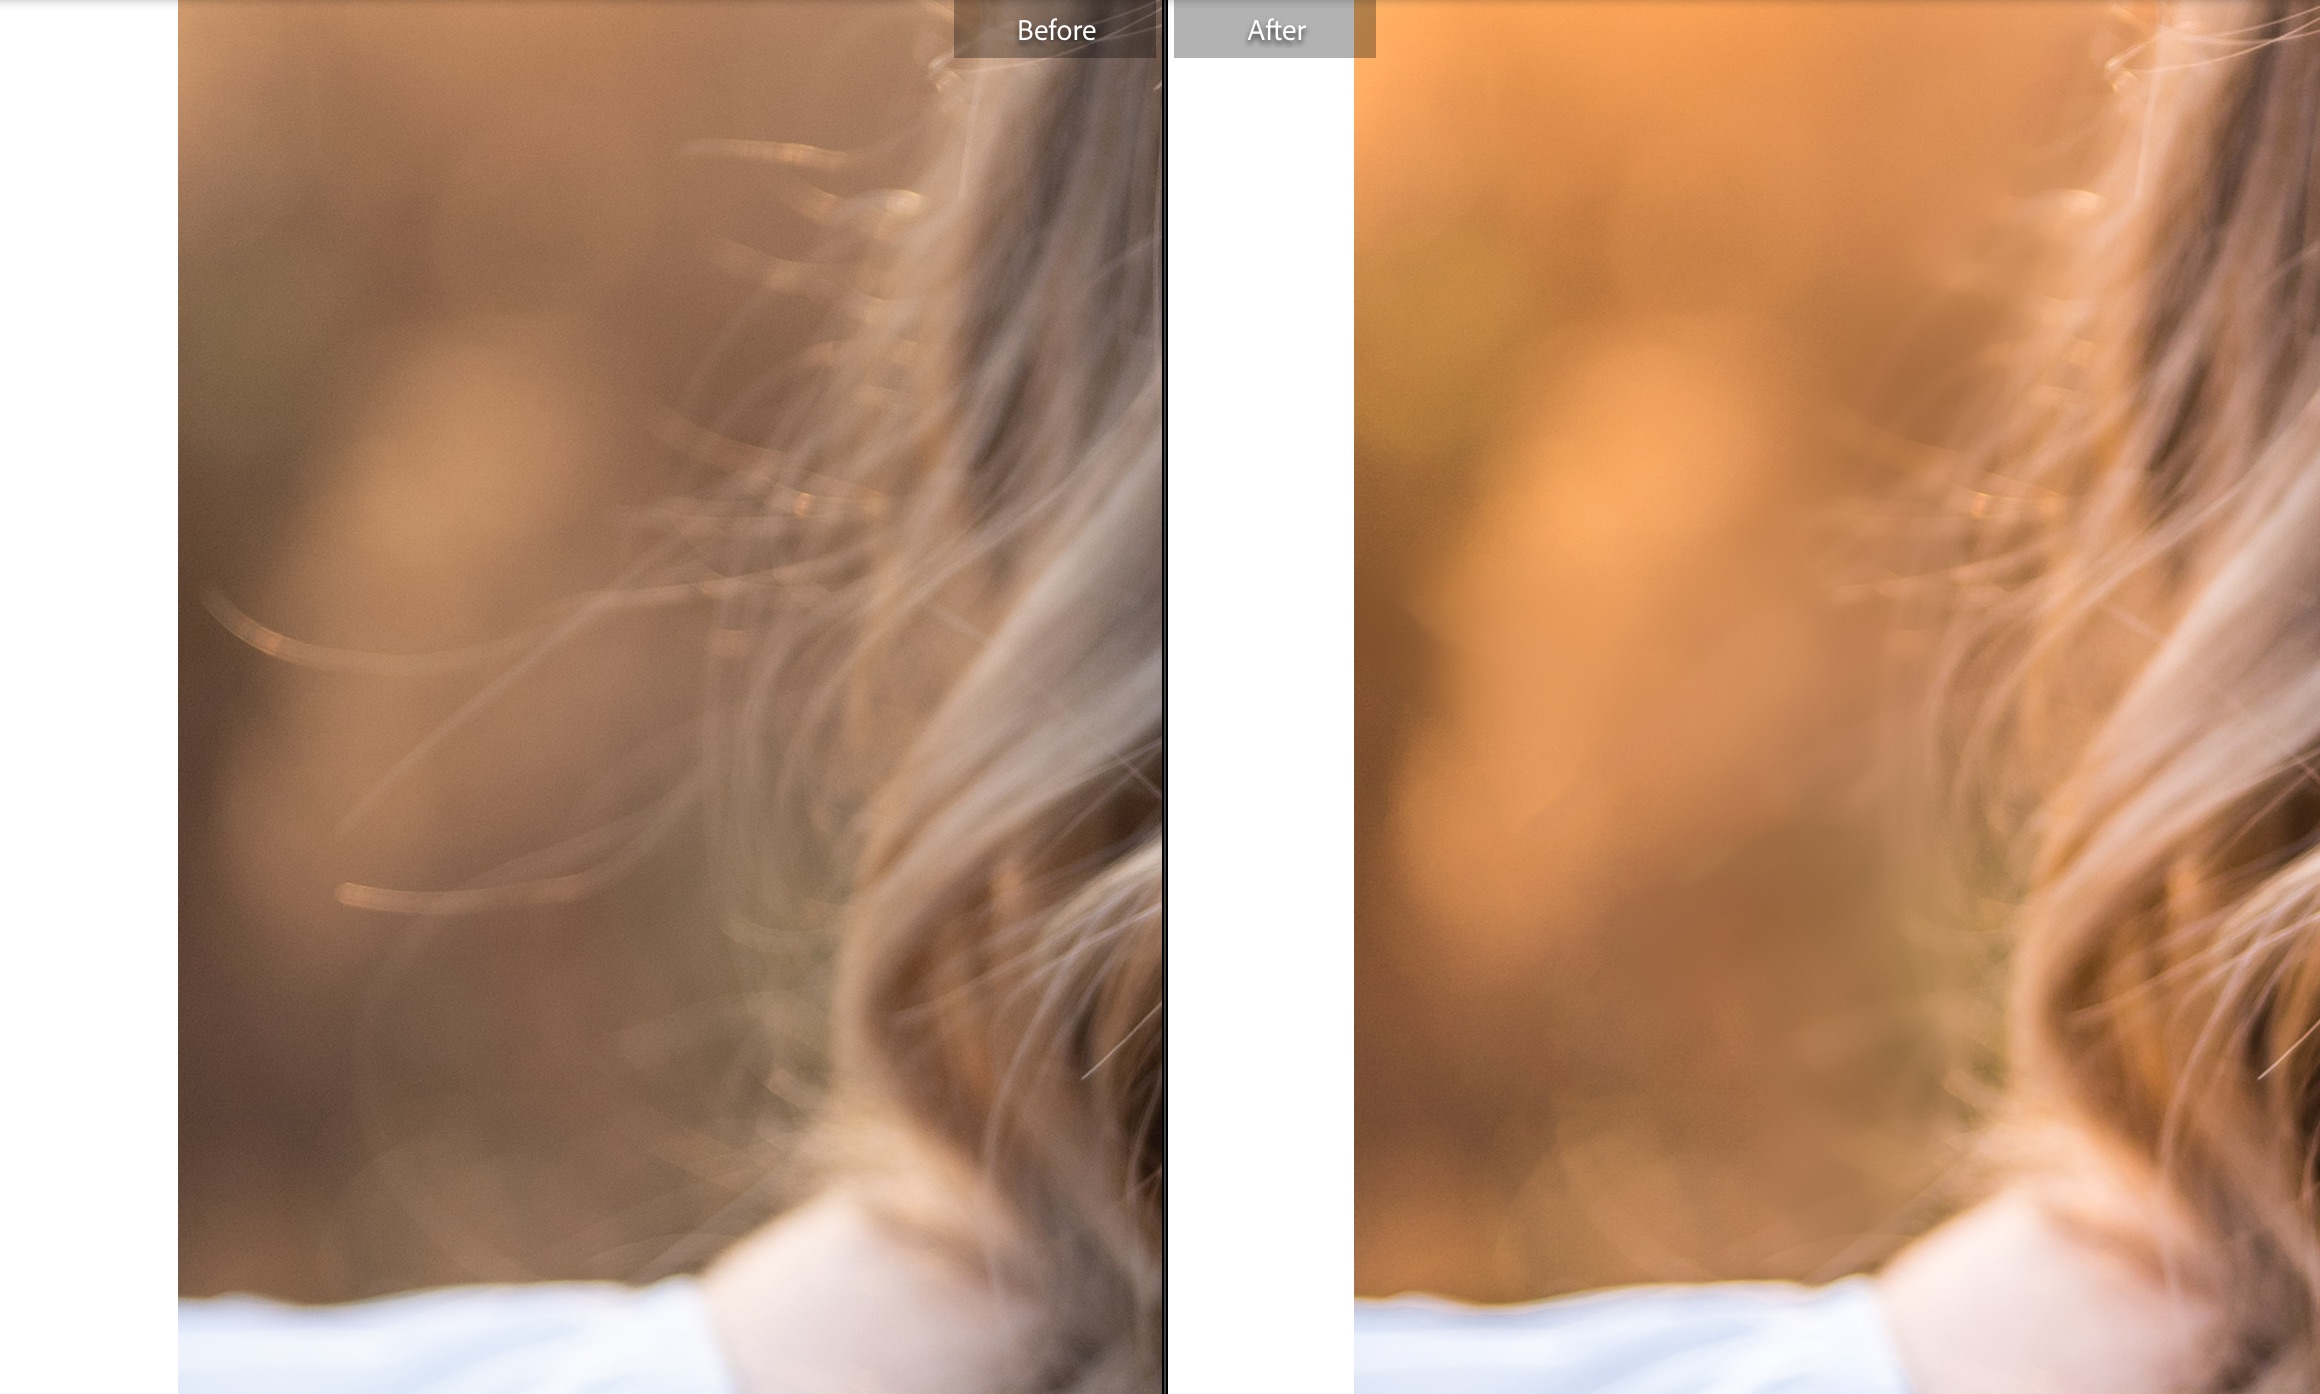
As a photographer, you know how important it is to capture the perfect portrait. Every detail matters! Nothing can ruin an otherwise perfect shot like a stray hair or blemish. Fortunately, you can easily take care of these minor imperfections with Lightroom’s spot removal tools. This powerful tool is designed to make retouching images quick and effortless. With the spot removal tools, you can erase stray hairs while maintaining the integrity of the photo.
Interested in learning more about how I edit my photos? Be on the lookout for my upcoming Editing Course that launches this spring!!
Please Contact Me today to learn more about my portrait or wedding photography! I can’t wait to hear from you!
If you loved these tips, check out these other useful resources on the blog!
Speed Up Your Editing Workflow | Portrait Photographer Tips
3 Tips to Achieve Natural + Effective Skin Retouching | Portrait Photographer Tips
Here are a few gorgeous weddings I’ve had the honor of capturing!
Classic Winter Wedding at Sky Meadow Country Club

