
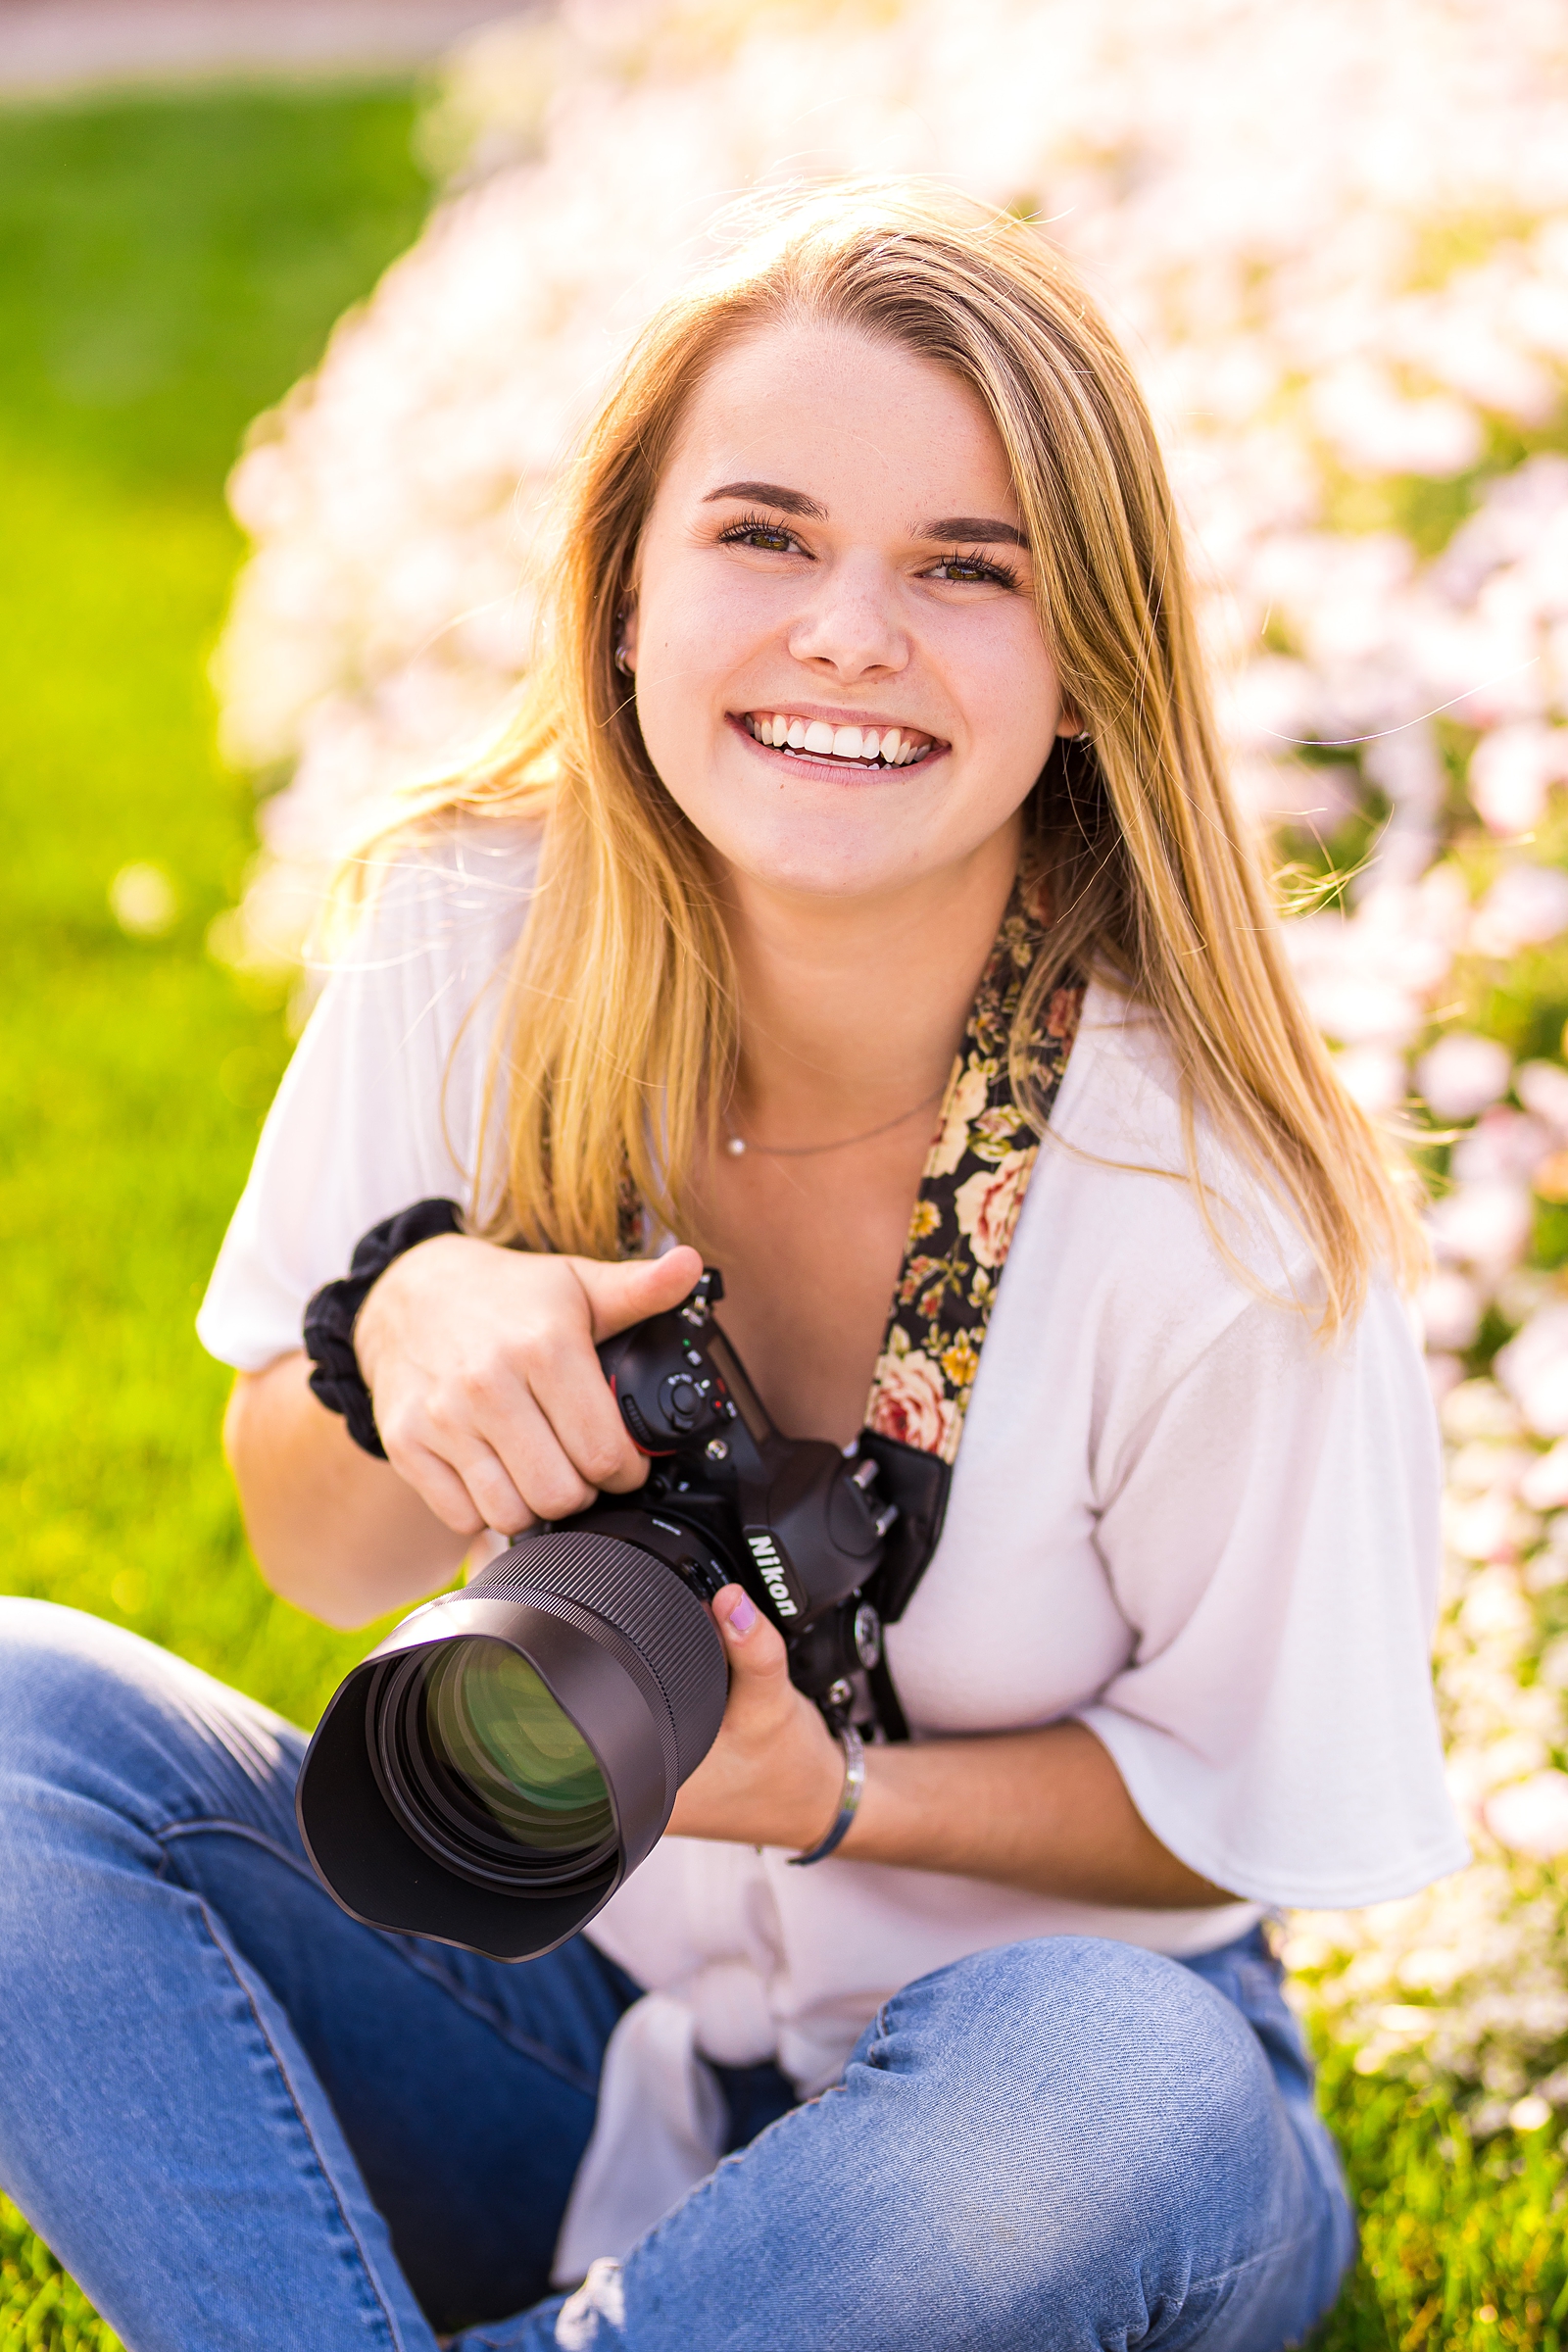
When I leave a session, I have hundreds of gorgeous images to sort through. You might be wondering how photographers go through all the images and select the best ones. This process is called culling! Here is my photo culling workflow I follow after every session.
Now, culling can be a tedious process. I look at each picture and keep only the top images that feature the best light, poses, and composition. I remove any images that aren’t up to standard, so when my clients get their final gallery, they don’t see those photos that are out of focus or unflattering.
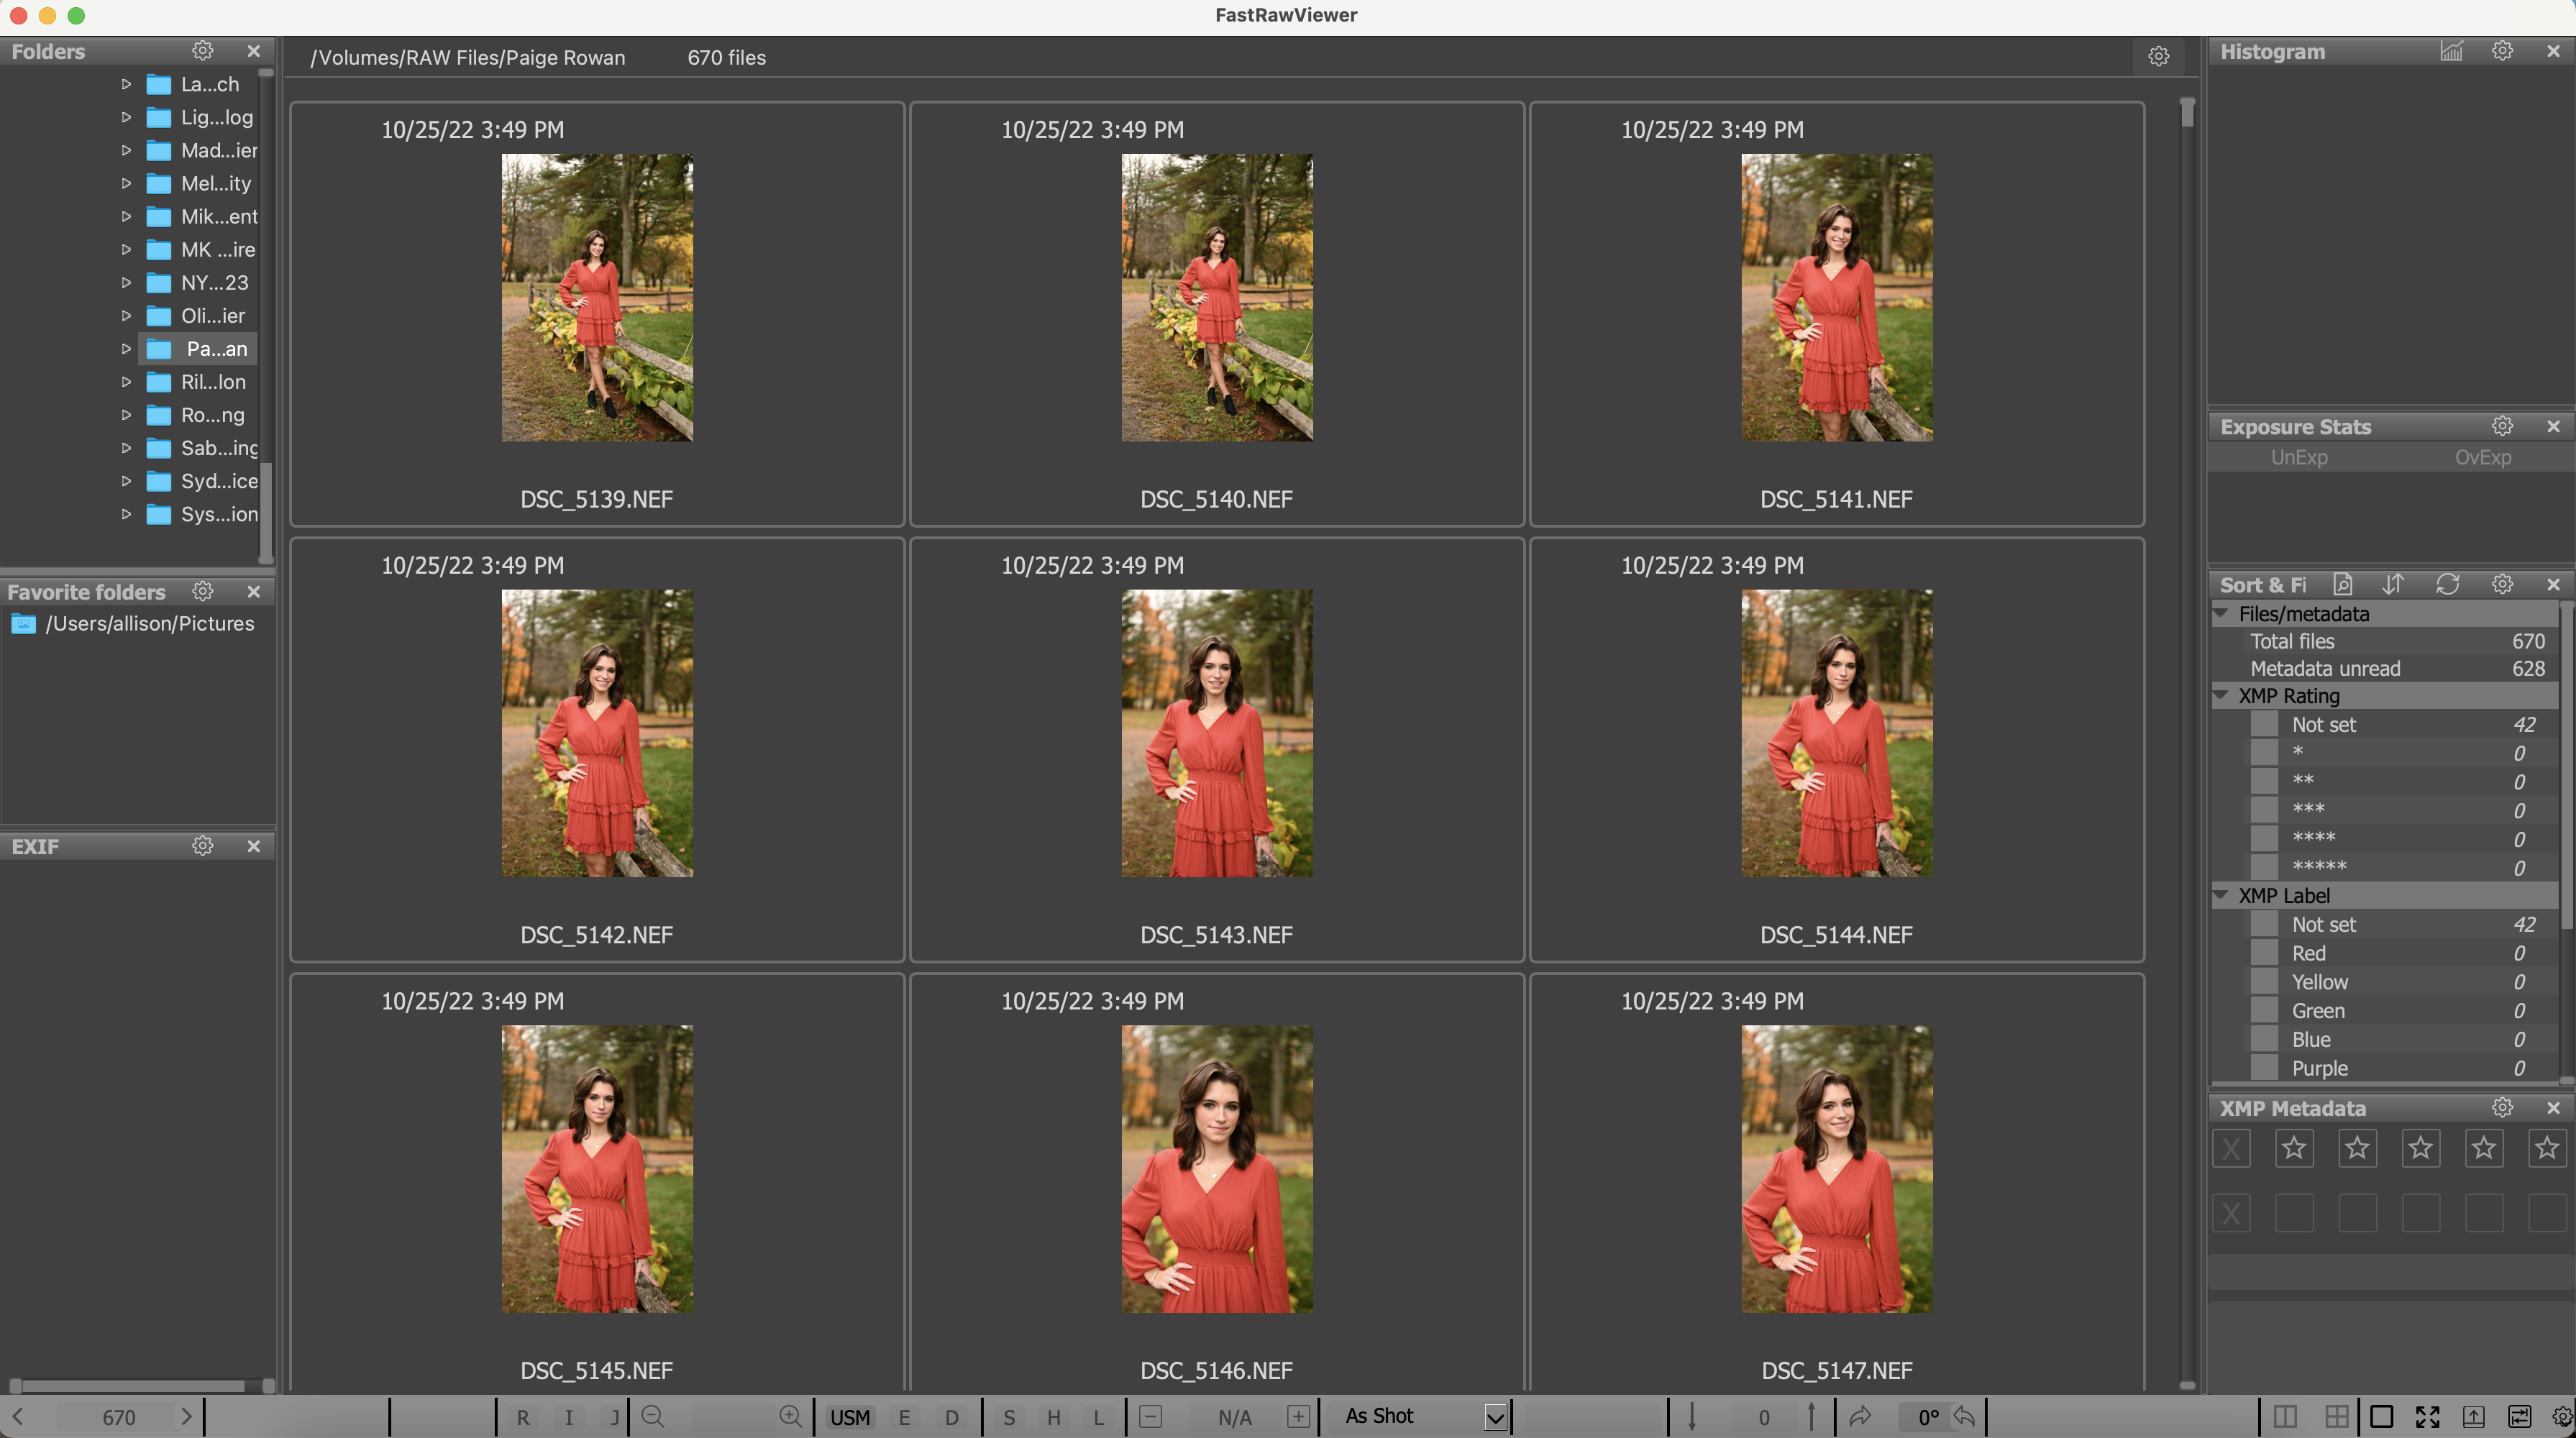
To cull through all these images, I use FastRawViewer. This amazing workflow tool provides unique features that allow me cull images fairly quickly, which is important when you have hundreds of images to go through!
My Photo Culling Workflow
First, I upload the RAW images to my hard drive from my SD card. I can then open the folder in FastRawViewer and begin sorting through the images.
I prefer to scroll through the photos in grid view, as it is easier for me to see and quickly compare similar images. As I look, I start marking images I like “red”. I can easily do this by clicking the “R” key on my keyboard. This keeps my culling process fast paced, and forces me to make “gut” decisions!
As I am culling the images, if I’m torn between two similar ones, I will open them in solo view to examine them more closely before making my selection. However, I like to keep this process quick and try to go with my instinct right away. Rest assured though, I am picky and try to only grab the best images.
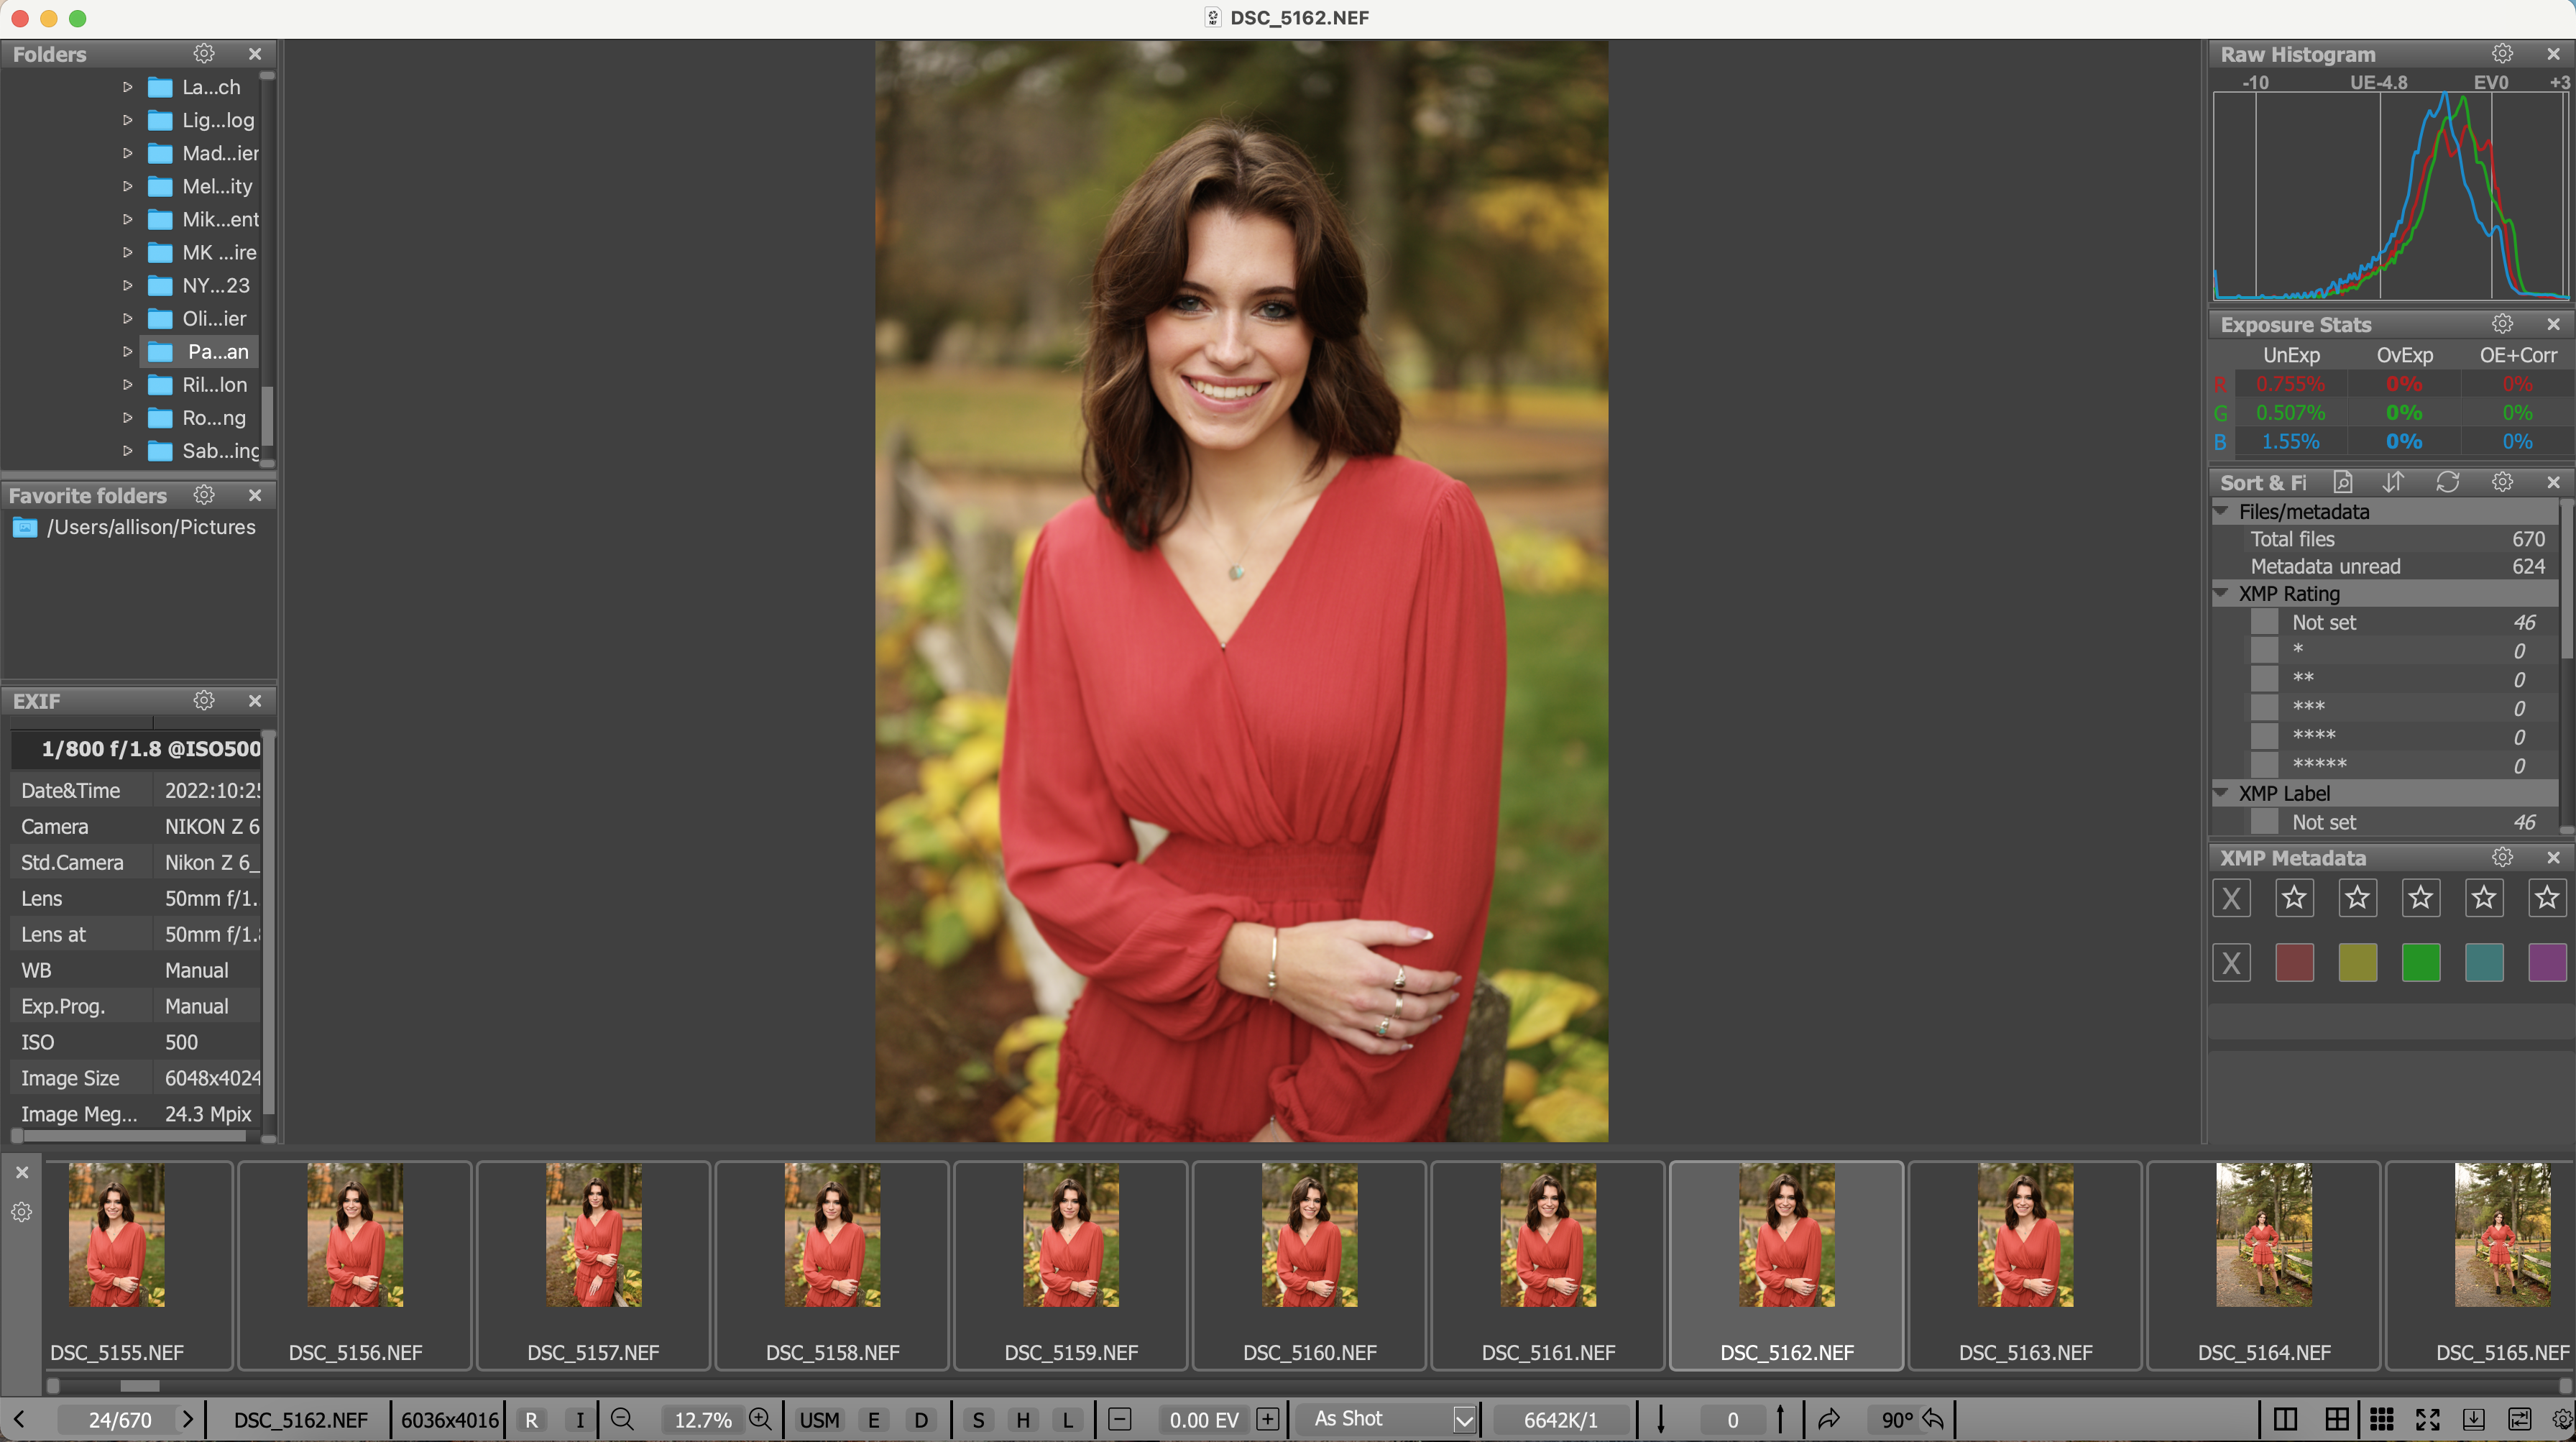
Once I’ve viewed the whole gallery and made my selections, I sort the images so I only see ones marked red. I then highlight all my final selections and drag them into a new Lightroom catalog for editing! Culling in this software allows me to sort quickly, as other softwares like Lightroom take longer to render large files like RAW files. Also, this keeps my Lightroom catalog from getting backed up with too many images, which in turn will make it run slower when it finally is time to edit!
Editing is a whole other process, but culling is the first step in preparing a final gallery! I love reliving a session and viewing all the gorgeous images from my clients’ sessions!
For more tips and resources for my portrait photographers out there, grab my freebies!
6 Tips for Confident & Natural Posing
Getting That Glow – My Tricks for Finding Great Light in Any Situation
Contact Me to learn more information about my photography offerings or educational opportunities! I can’t wait to hear from you!
You can check out more useful resources and memorable moments on the blog!
4 Things To Include In Your Senior Inquiry Response
