
Everyone knows how important it is to have flawless, natural looking skin in portrait photography, but getting the right look can be tricky. Natural skin retouching is a skill that takes practice, but it doesn’t have to be complicated or time consuming. With a few expert tips, you can learn how to achieve natural, flawless looking skin quickly and easily. Here are my top 3 tips to achieve natural and effective skin retouching for portrait photography, which can all be done in Lightroom! You don’t need Photoshop for effective skin retouching!
What is Natural Skin Retouching?
Natural skin retouching is the process of using digital editing tools to adjust the skin tones and textures of a portrait. This process is used to enhance the overall look of the photo, and make it look more professional and polished. Skin retouching can be used to remove blemishes and make the skin appear smoother and more even.
The key to achieving natural skin retouching is to make subtle adjustments that don’t look overly edited or artificial. You want to make sure that the retouching looks natural and believable, so that the viewer is not distracted by the editing! This can be a tricky process, but with the right tools and techniques, you can create amazing, natural results!
3 Tips to Achieve Natural + Effective Skin Retouching
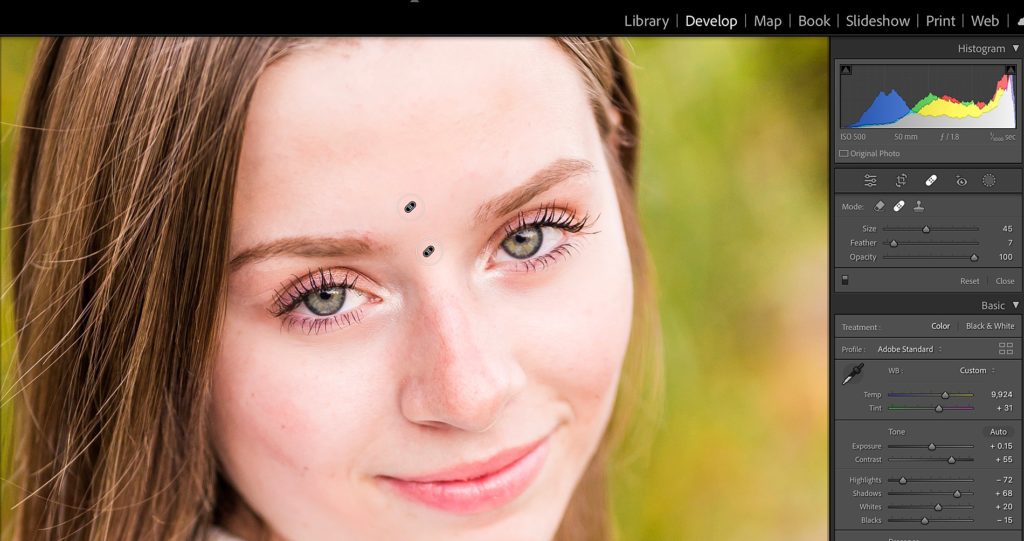
01. Remove major blemishes or dark spots with the spot removal tool
The first step to natural skin retouching is to use the spot removal tool to remove any major blemishes or dark spots from the photo to give a more natural looking, but flawless finish. This is an important step, as it also reduces the amount of work you need to do in the later steps, making the entire process easier. Start by selecting the spot removal tool. Then, hover over the spots and change the size of the tool to match the size of the spot. Lightroom will sample from another area and heal the blemish!
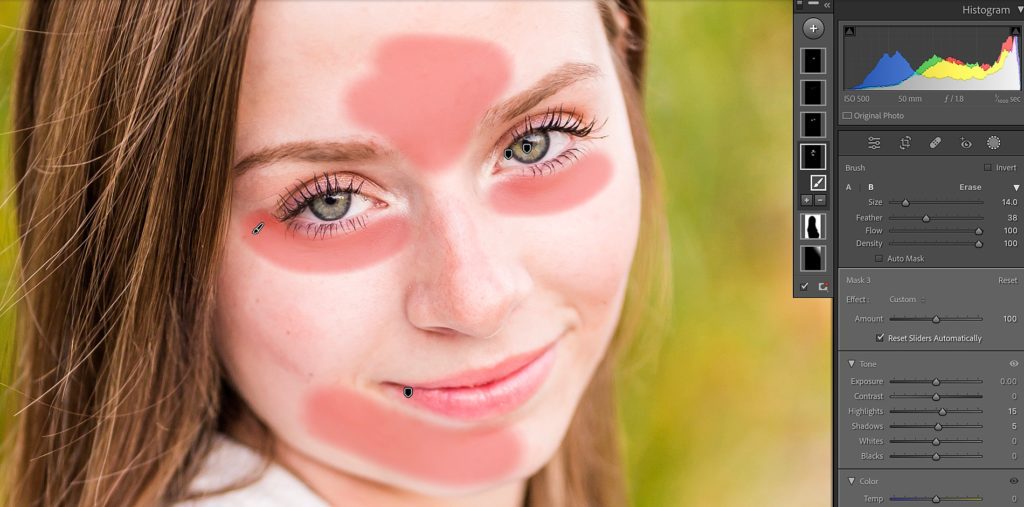
02. Use the Adjustment Brushes
Once you’ve removed any major blemishes or dark spots from the photo, it’s time to select the adjustment brush tool and paint overly textured or shadowed spots, such as under the eyes, the chin, and the center of the forehead. These areas of the face typically need to be smoothed and brightened as the T-zone usually has the most texture and the under eyes have a naturally cast shadow!
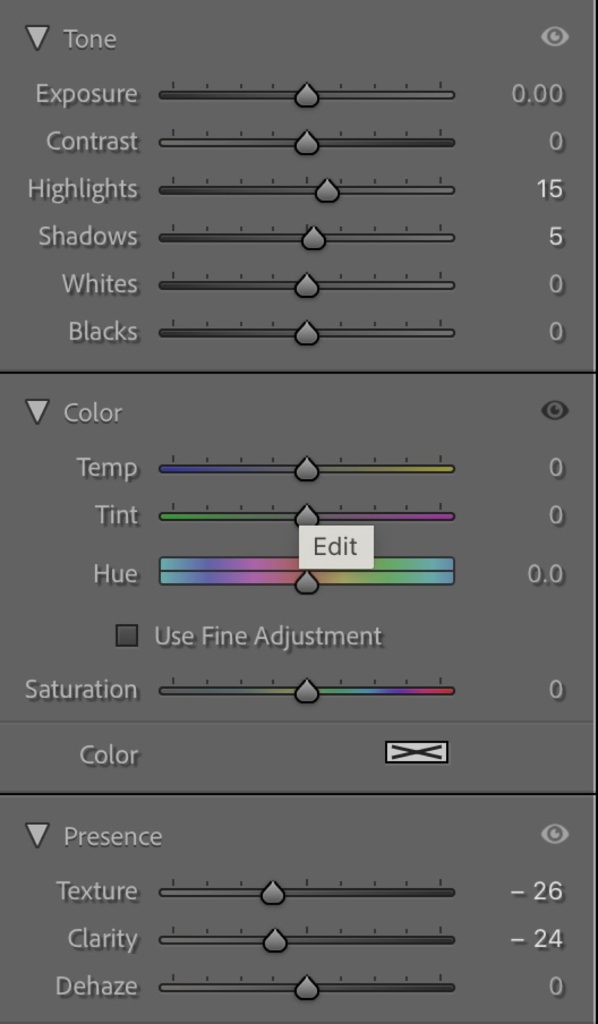
03. Adjust the Texture and Clarity
Now that you’ve painted over those areas, adjust the texture and clarity of the photo down slightly, but not too much! You want to make the skin appear flawless, but not fake. Texture and clarity are important for creating a natural look, as they help to soften the skin and make it look more natural. I also will bump up the highlights and shadows slightly to brighten these areas.
Natural + Effective Skin Retouching
The key to natural + effective skin retouching is to not overdo it, you want your subjects to look flawless so that they feel confident when receiving their images back, but not so smooth and touched up that they look noticeably fake! The technique described above allows you to perfect their skin without making them look doll-like.
Please Contact Me today to learn more about my wedding photography and start a conversation! I can’t wait to hear from you!
You can check out more useful resources and memorable moments on the blog!
