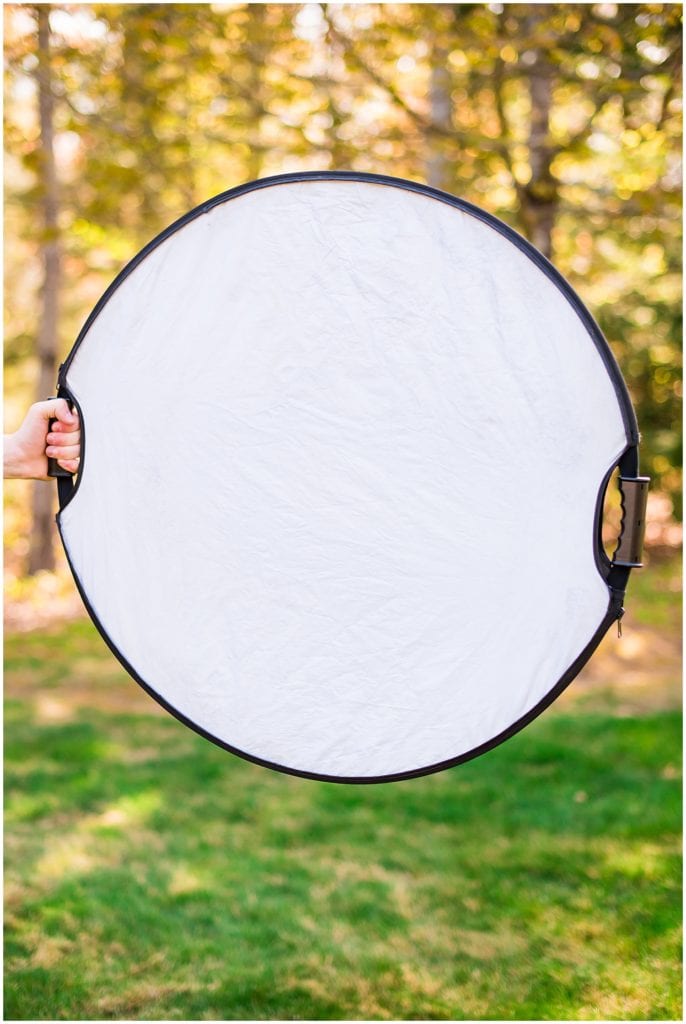
Do you want to know the secret to getting bright and bold images in an EASY way? It’s as simple as one word: reflector. Reflectors are an easy to use, inexpensive way to cast light onto your subject. Some reflectors come with multiple sides. While there are many options including gold and silver, I almost always use the white side. The white side projects clean, soft light onto your subject. This is the look we are going for!

The first step to using your reflector is to set your subject up so that they are facing away from the sun. Photographers refer to this setup as “backlighting”. Now, you might notice that your subject looks a bit darker than you’d prefer. That’s where the reflector comes in! Set yourself up so that you’re in a direct line with your subject and the sun. This way, the sun will hit the white reflector and bounce back onto your subject. It’s as simple as that!
I love using a reflector in my portrait photography because it creates a bright, bold look to my images. Unlike off camera flash, the reflector creates a softer, more natural look. You may notice that it even creates a small catchlight in the eyes of your subject! In addition, it helps make skin look glowier, and fills in the shadows that are naturally cast under the eyes by the eye sockets. There are SO many advantages to using this simple tool.
Here are some photos with and without a reflector. This way, you’ll be able to see the difference clearly!


I took the first set of images in open shade, while the second set I took in direct sunlight. As you can see, the images with the reflector look cleaner and brighter! Finn’s eyes also look much more alive.
Finn was a great model, but gradually got tired of the paparazzi!

If you’d like to purchase a reflector of your own, here is the one that I use!
If you’d like to read more blog posts like this one, check these out:
Favorite Locations for Engagement Photos In New Hampshire