
In the past six years, my photographic style has changed a lot, but my go-to portrait editing tricks have relatively stayed the same! As mentioned in a previous blog post, I use a reflector at every portrait session. When I use a reflector, I cut my editing time in HALF! The reflector makes the skin appear brighter and smoother, and makes the shadows naturally cast under the eyes disappear. This way, when I upload my photos into Lightroom to begin the editing process, I only have a few things to do.
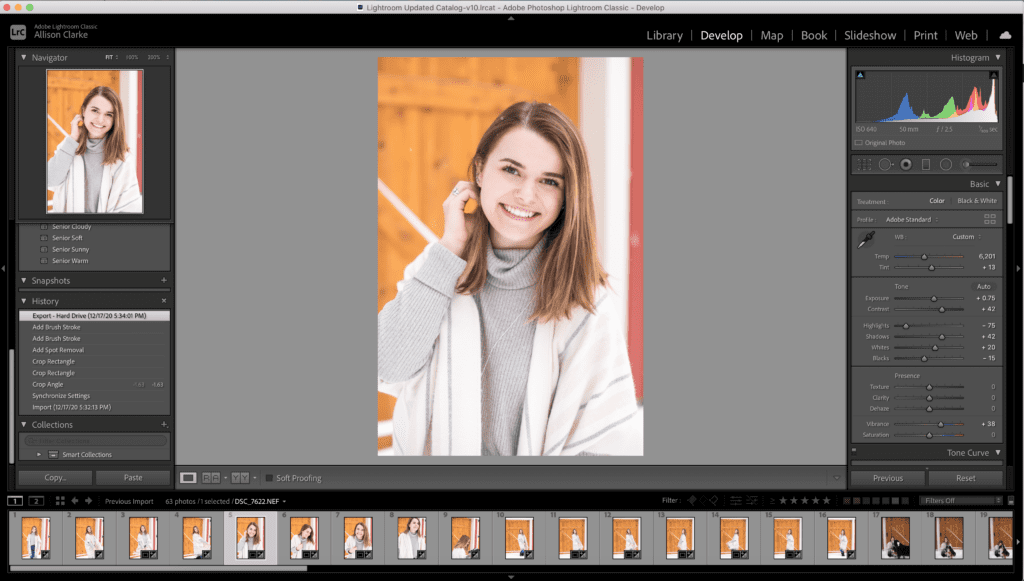
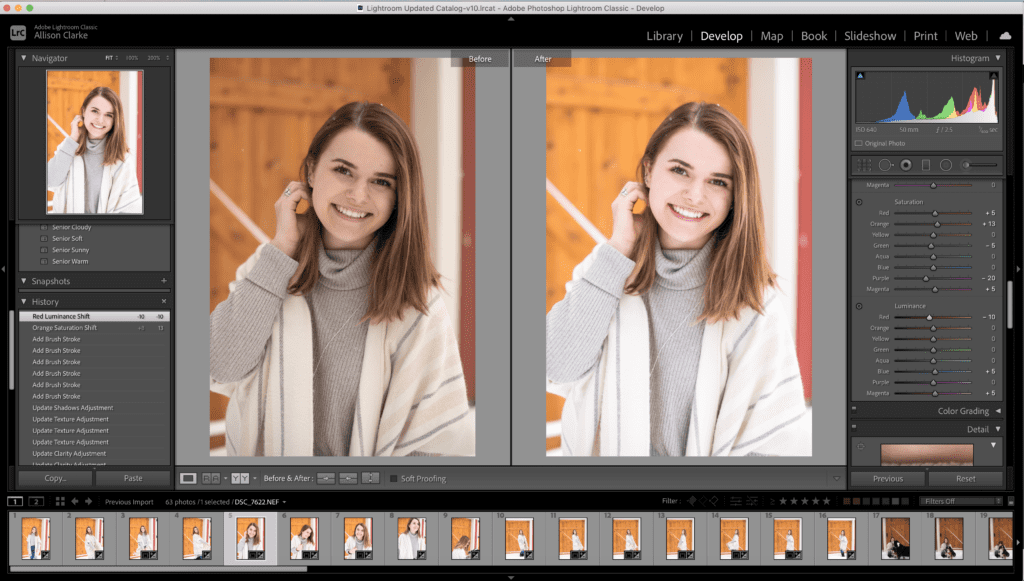
When I first hop into Lightroom, I cull my images in the library module using the “P” key to flag them. From there, I sort my images so that I’m ONLY seeing the flagged ones. Next, I’ll pop my ACP Lightroom preset onto an image, touch it up as needed for that specific lighting scenario, and sync all of the images together! Since I started using the “sync” function in Lightroom, my editing time has drastically decreased.
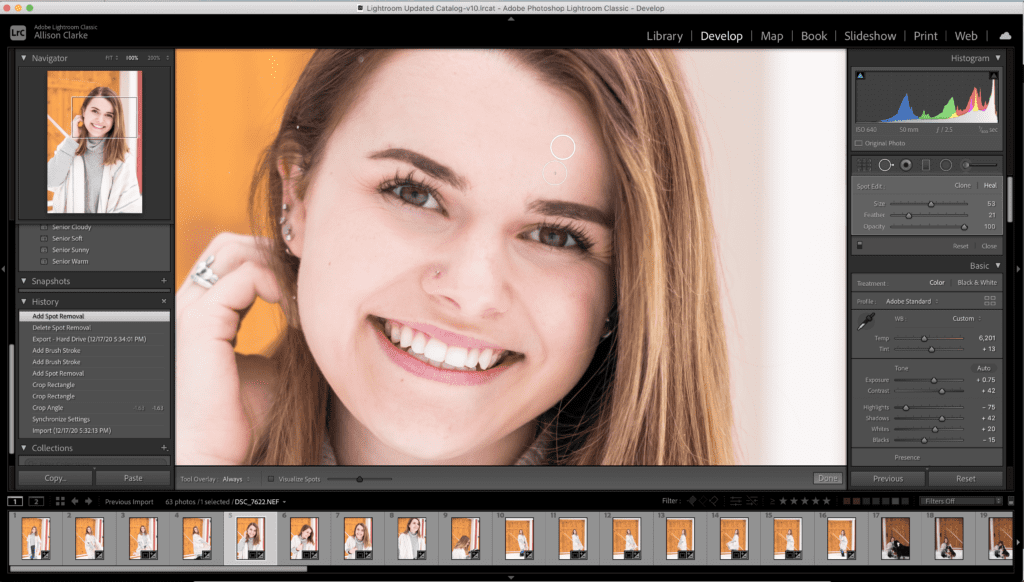
After I have synced all of the images, I’ll retouch and refine each image one by one. I always start with the spot removal tool to remove any obvious blemishes, such as pimples or blotches.
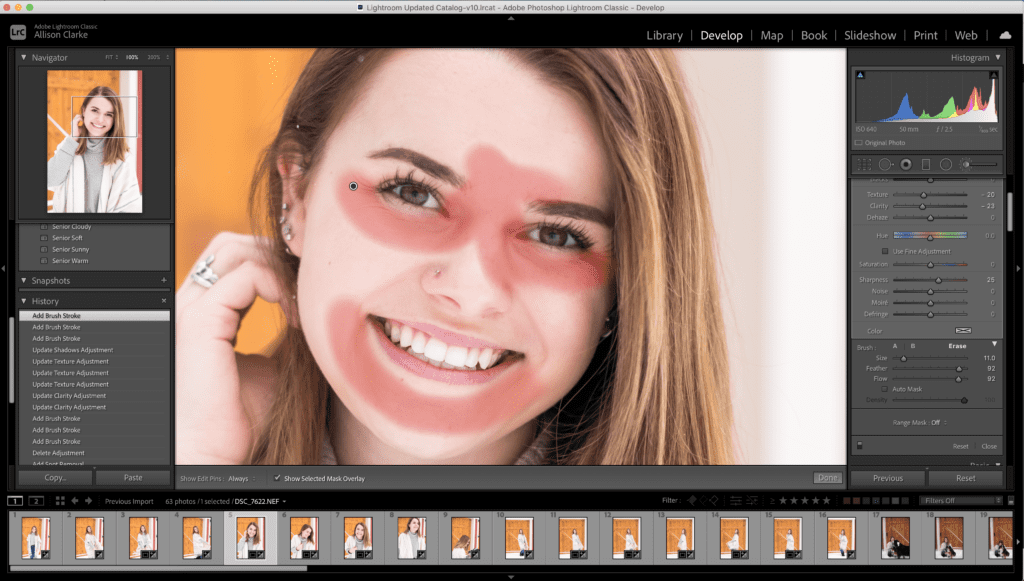
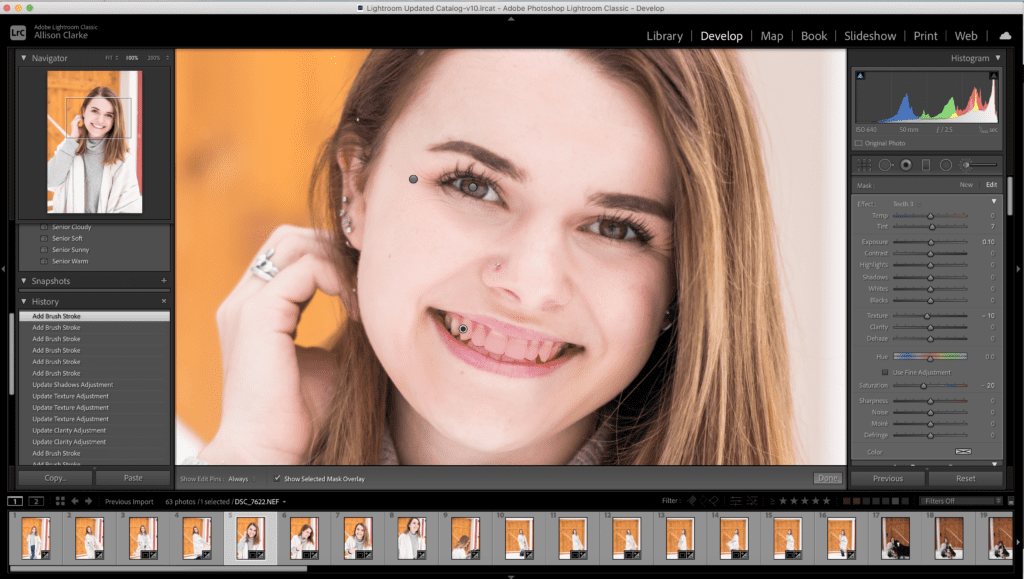
Next, I’ll go in with the adjustment brush and paint my “Skin Fix” brush preset over certain areas, such as under the eyes, the forehead, and the chin. This will brighten the skin and smooth out any wrinkles or intense textures. You can see where I painted the brush as it is highlighted in red!
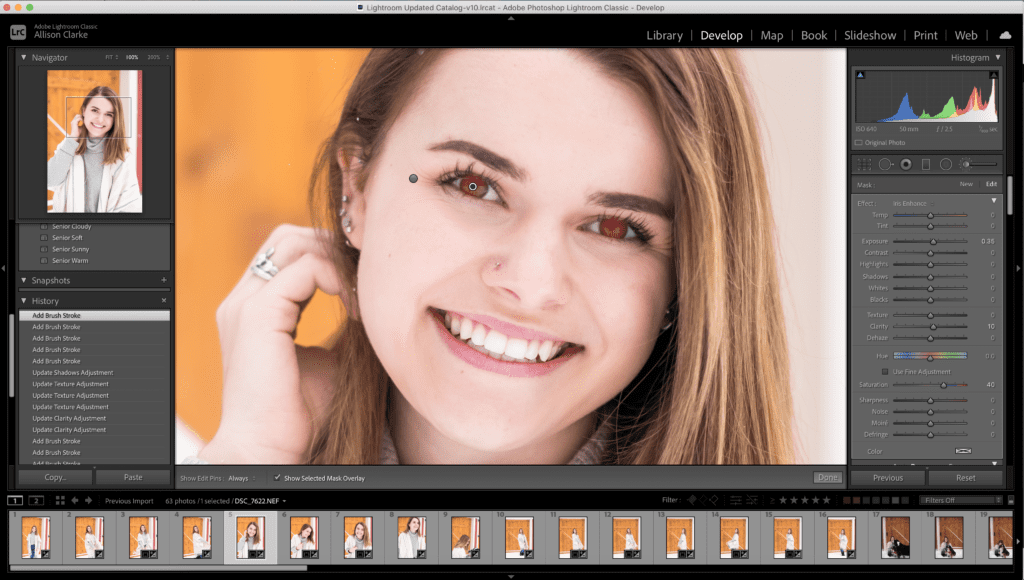
After I fix the skin, I’ll move onto the eyes. I use the “Iris Enhance” brush preset that comes with Lightroom, and I’ll put a small dot of it on each of the eyes. This will help the irises appear to be brighter and will help the color stand out.
Lastly, if needed, I’ll whiten teeth. I have made my own teeth whitening brush preset, as I believe the one that came with the program is too strong, and I don’t want my images to look over edited. I’ll quickly brush this over the teeth, and then I’m done!
Getting my images right in camera and using a reflector has definitely been the biggest factor in my easy editing. However, following this workflow plays a huge part as well!
I hope that this blog post helps with all of your future portrait editing! Leave a comment below if you have any questions about my process, and don’t forget to follow me on Instagram. I’ll see you again on the blog soon!
Related Posts:
The Secret to Bright and Bold Images

