
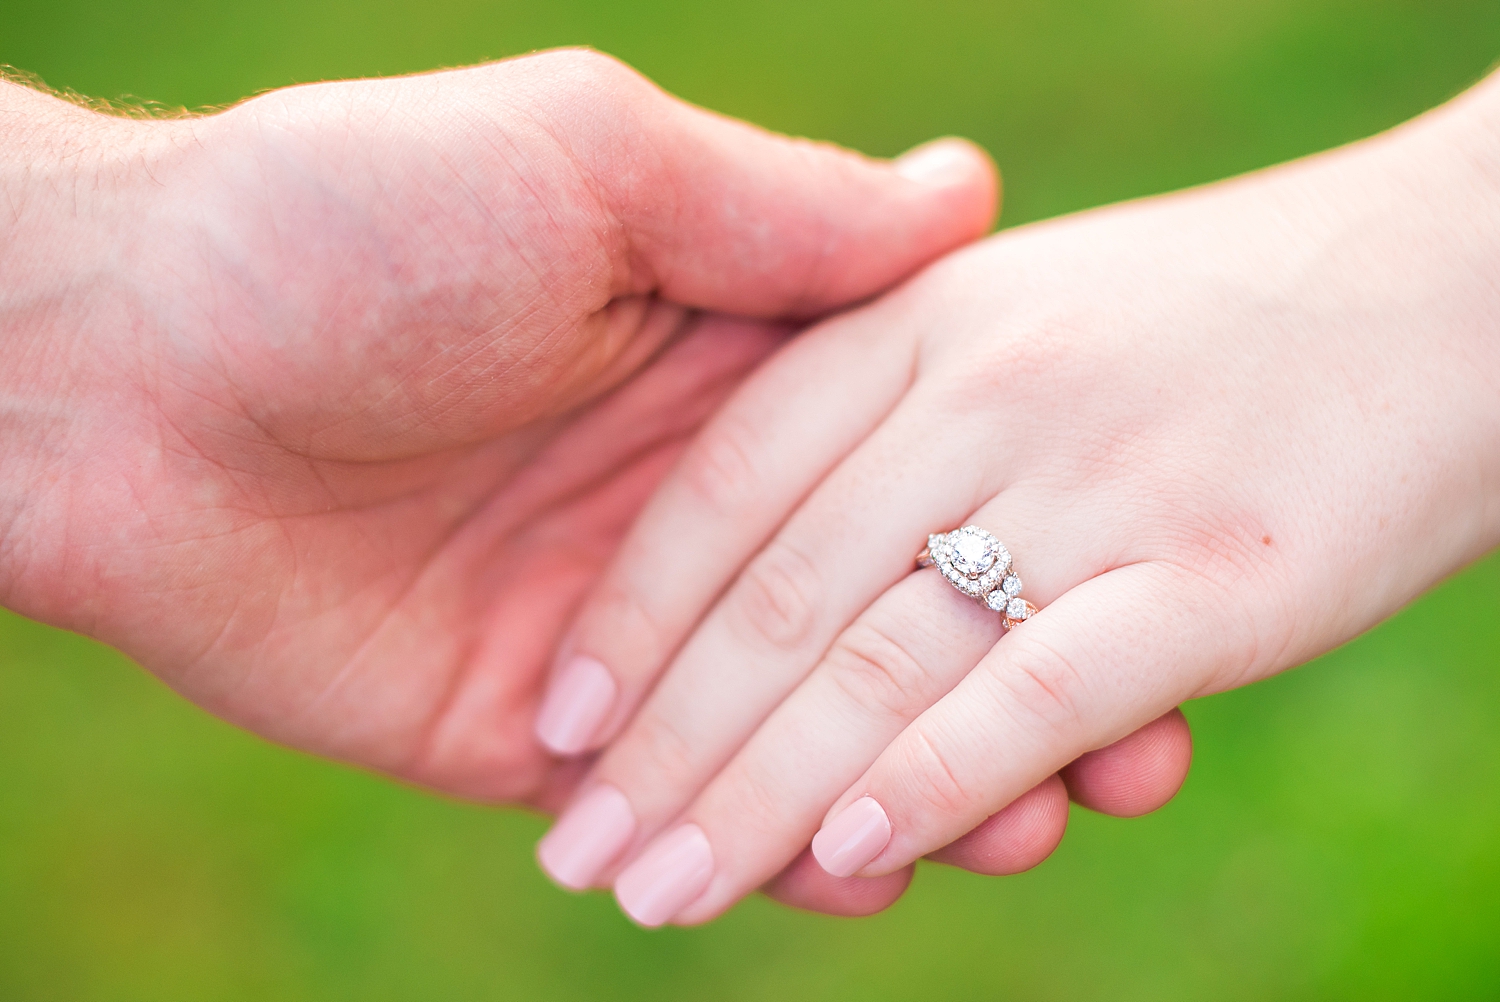
Have you ever wondered how to photograph an engagement ring? Maybe you’re a wedding photographer, and you find yourself struggling with detail shots on wedding days. Or maybe you photograph engagement sessions, and you always freeze at the end when it comes to capturing the ring shot. You’re not alone! Getting the perfect photograph of a ring is a tricky task, and it’s something that I struggled with for a long time at the start of my photography career. However, once I started following a few simple tricks, my ring shots improved drastically!
Here are my best tips for photographing engagement rings:
- Bump up your aperture! If you’re a portrait and wedding photographer, you most likely shoot at a fairly wide aperture. For example, my aperture during engagement sessions typically sits at f/2.8! However, when you’re photographing engagement rings, you want to set your aperture a bit higher, such as f/5.6! This is because you are a lot closer to your subject, so there is far more compression than normal. By bumping up your aperture, you are sure that the entire gem will be in focus.
- Bump that shutter speed up too! Again, you’re photographing a tinyyy subject, and you’re likely pretty close to it. By bumping up your shutter speed, you are sure to avoid any motion blur caused by shaky hands, and your ring shot will be perfectly crisp! Any shutter speed below 1/500 is probably too slow.
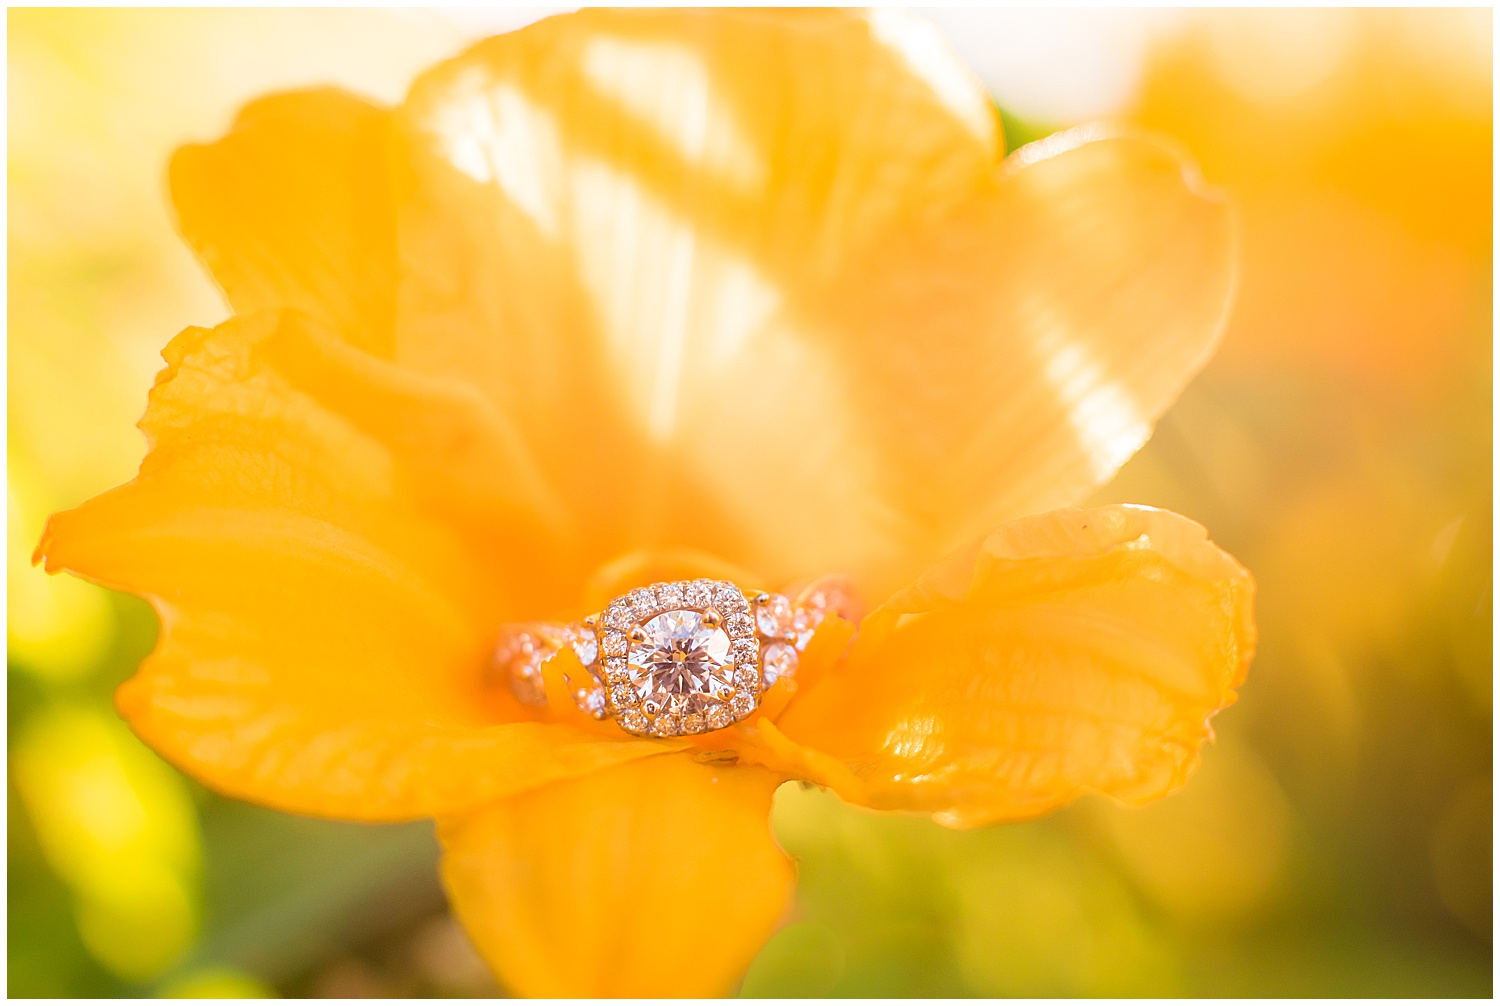
- Find even and flattering light! Since rings are naturally reflective, you want to find the best light that will make the diamond sparkle. I tend to go for areas of open shade, where the light is bright but not harsh! This way, the gem still has light to reflect but won’t be blown out.
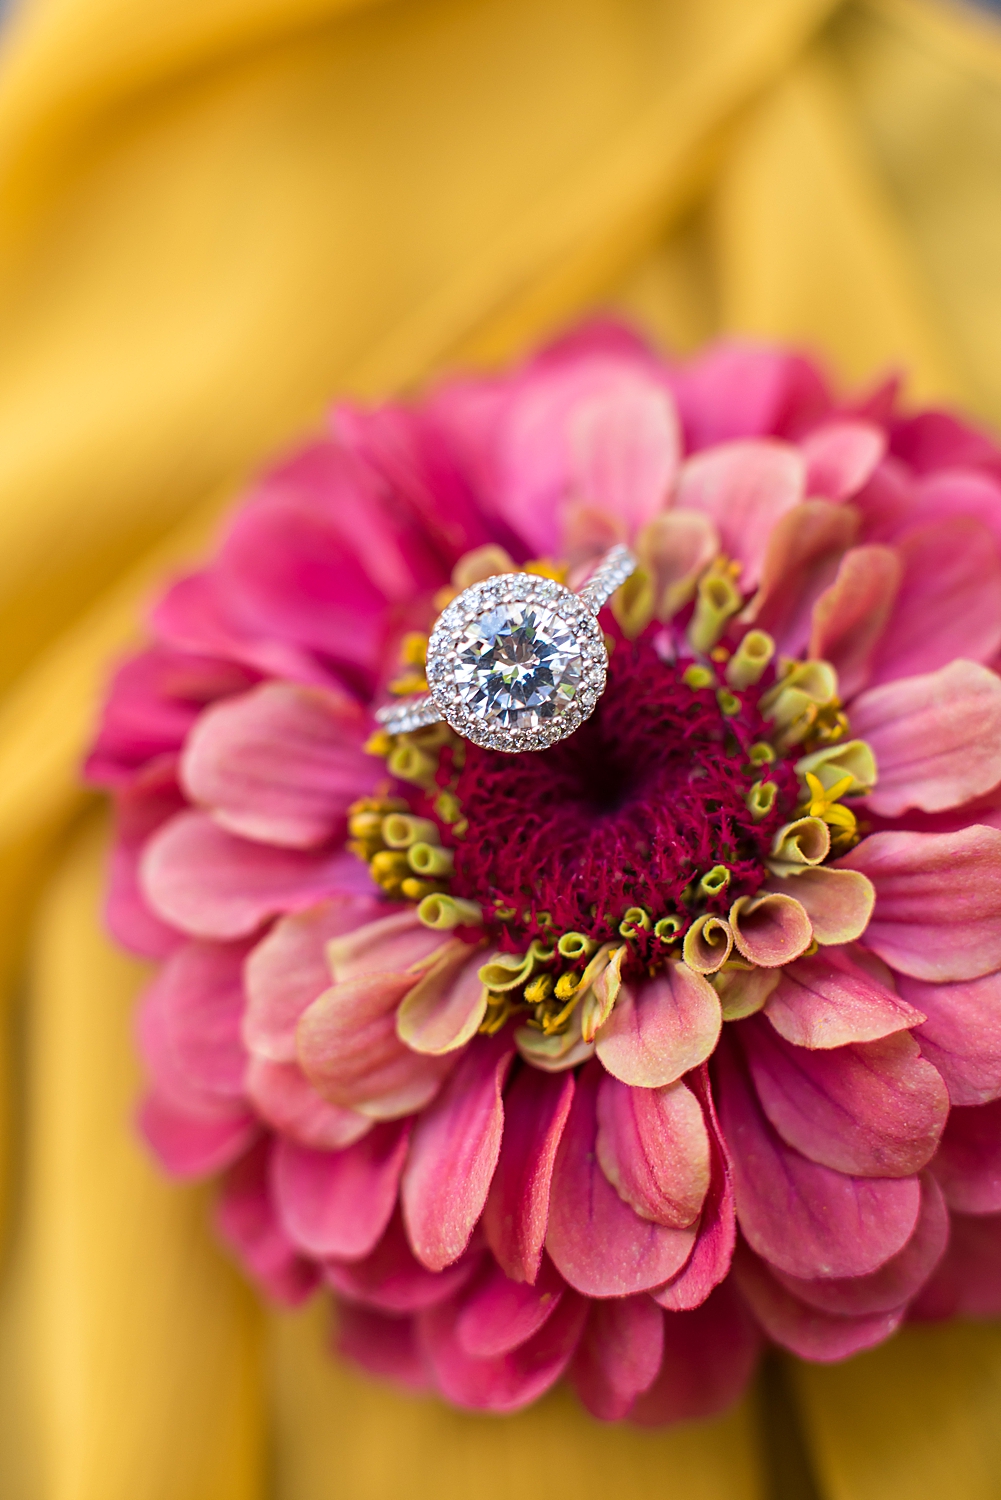
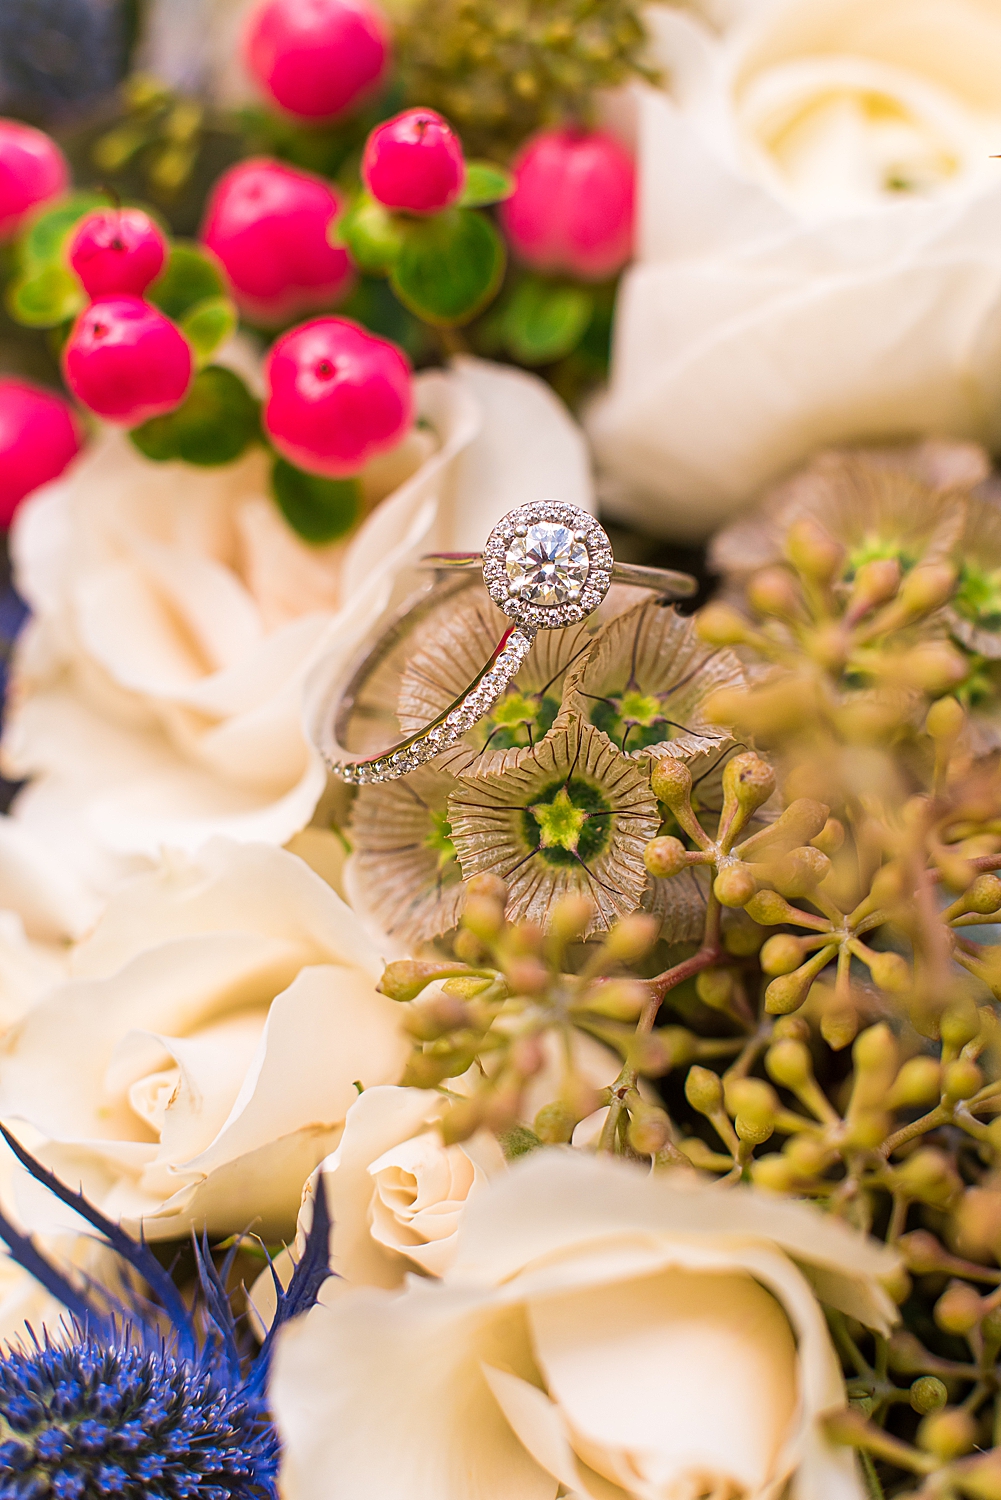
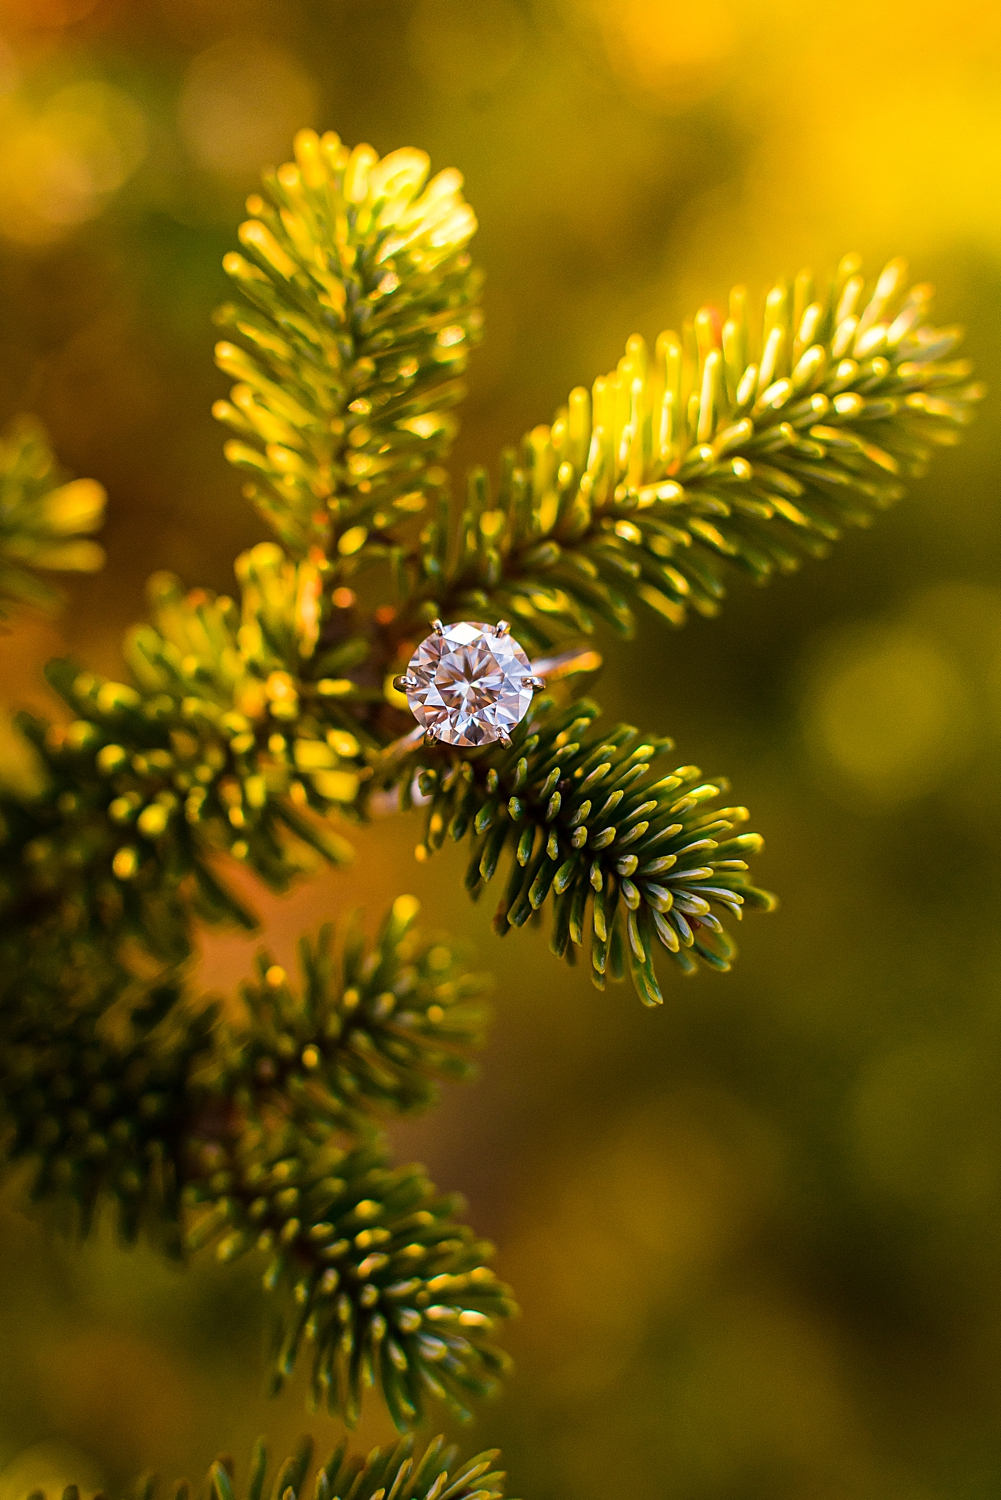
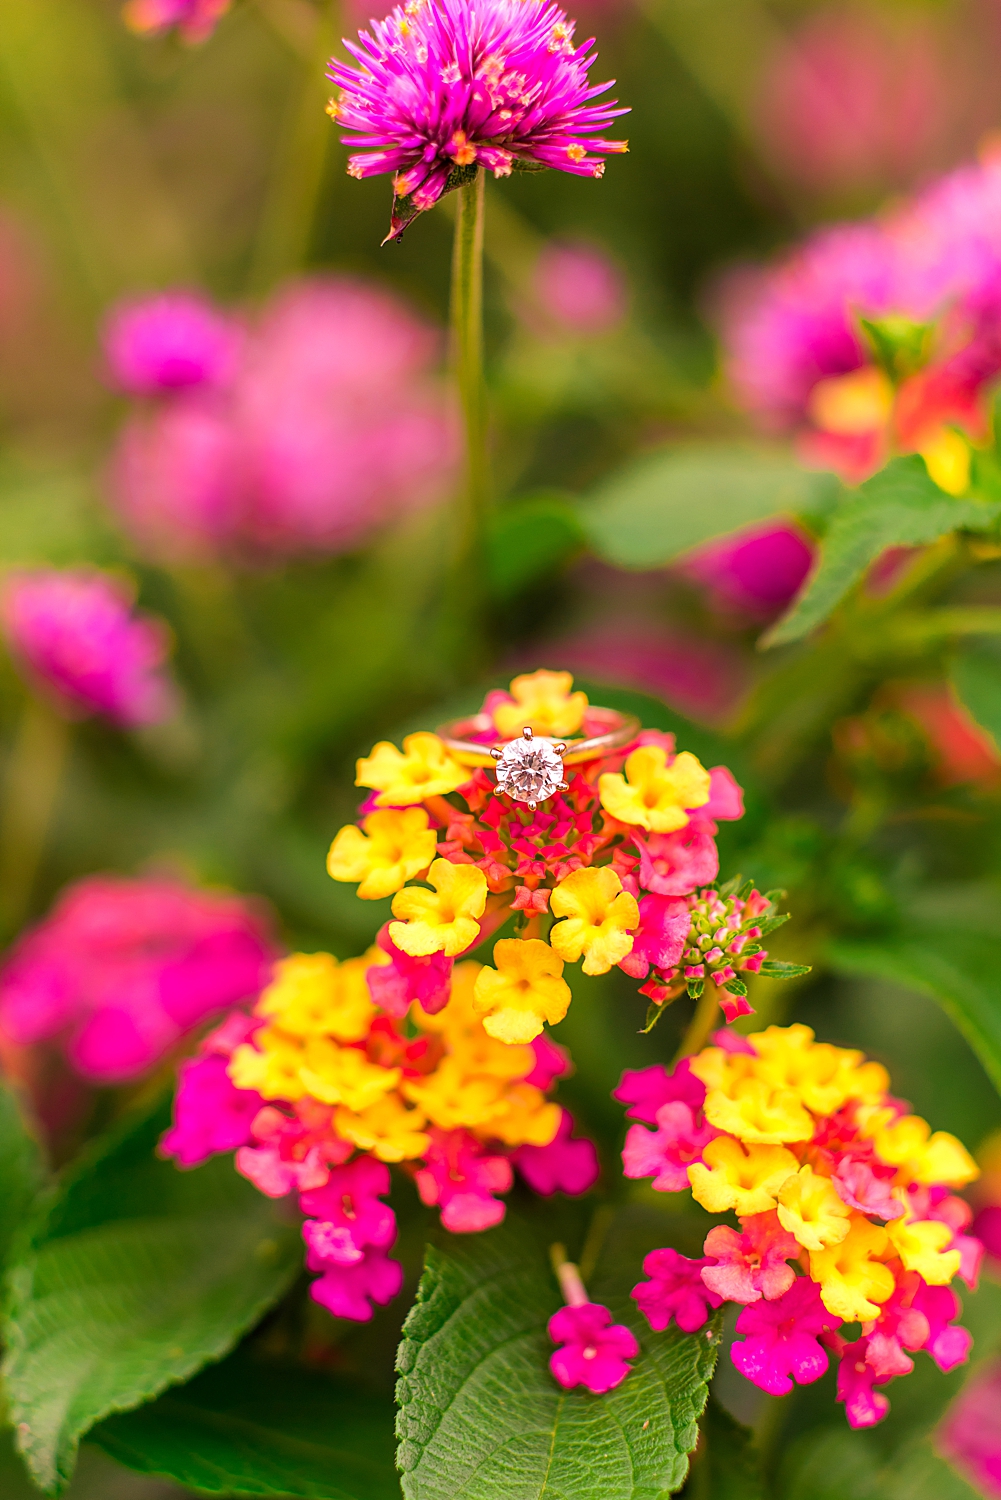
- Look for interesting textures and backgrounds! The background that I choose for engagement rings varies on whether I’m photographing it at a wedding or engagement session, but I always look for the same thing: texture! If I’m at an engagement session, I’ll find a spot that encapsulates the location that they chose. For example, I took the image below during an engagement session at a Christmas tree farm. The colors match well with the rest of their engagement images, and the pine needles show off some interesting texture while also paying tribute to their location! At a wedding, I’ll typically use the bride’s bouquet for a ring backdrop, or any other details that she has that are textured.
- Use extension tubes! Macro lenses can be pretty pricey, and if you’re only using them here and there for ring shots they’re not the most useful investment. Extension tubes increase the length between my camera body and lens, and allow me to get wicked close to my subjects. They’re significantly cheaper, and get the job done! Click here to shop the ones that I use!
- Focus on the prongs rather than the diamond! Again, diamonds are naturally reflective, which is pretty tricky for your camera to read. If you try to focus on the diamond, chances are your focus will be off. By focusing on the front prong instead, your camera will be able to find that point of contrast and produce a super crisp image!
- Put some dental wax in your camera bag! I use dental wax if I need to prop up a ring or hold it in place. Some photographers use putty, but dental wax is clear, mess-free, and cheap! You can pretty much get it at any Walgreens, CVS, or Rite Aid. The next time you’re struggling to prop up a ring, dental wax will come in handy.
Those are all of the tips I have for you today! Hop over to my Instagram to get more photography tips and tricks on the daily, I’ll see you there!
Related Posts:
My Go-To Portrait Editing Tricks

